Originally published at https://notslot.com/blog/2020/04/spine-8-direction-character-part-2
In the second part of the 8 directions character animation tutorial, we will rig our character in Spine, add mashes to create squishy movement, and organize all the different directions to simplify our work.
Follow along! The download link contains the character’s PSD and the result Spine project of this article: Download Spine & PSD file
Bones, IKs & Mashes
We are going to duplicate and mirror both arm and leg to create the left & right hands in all the directions.
We create the arm-r-control bone and an arm bone, which we split into two. We select the arm bones and go to New → IK Constraint. Place it between the arm and the hand bones.
We create a new mash for the arm and Bind it to the arm bones. Adjust the weights to get the smooth bending of the arm.
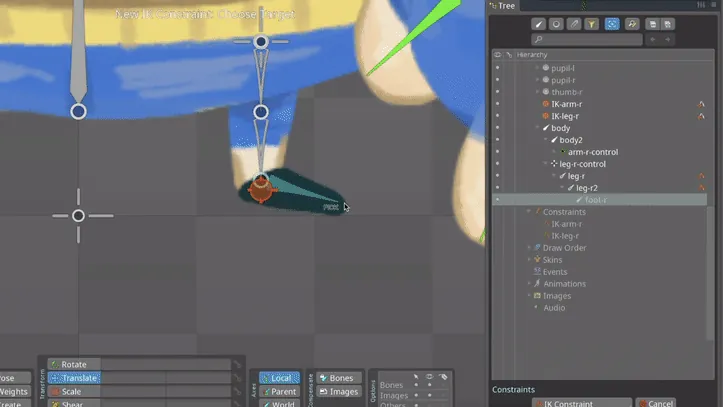
We do the same for the leg. As we want to be sure our character will walk on the ground, and not get cut by it, we create a second IK for the foot. After clicking on the foot bone and selecting IK Constraint, we place under the foot’s new IK, our leg IK. We can now bend the knee and have the foot move as well.

We create a Mash for the body part.
I used the Generate option to create 63 Vertices and did the same for all the five body directions. The body shape is simple, and we won’t need it to move around much.
For a secondary motion, we add a Mash to the character’s bangs. Be sure to add it to all the directions.
After creating the Mashes and placing all Slots under their relevant bones, we duplicate the arm and leg and reposition them. To flip them, we change the Scale of the control bones to -1.0. Make sure to change the name of the duplicated Bones and Slots by using the Find and replace text feature.
Direction Bank
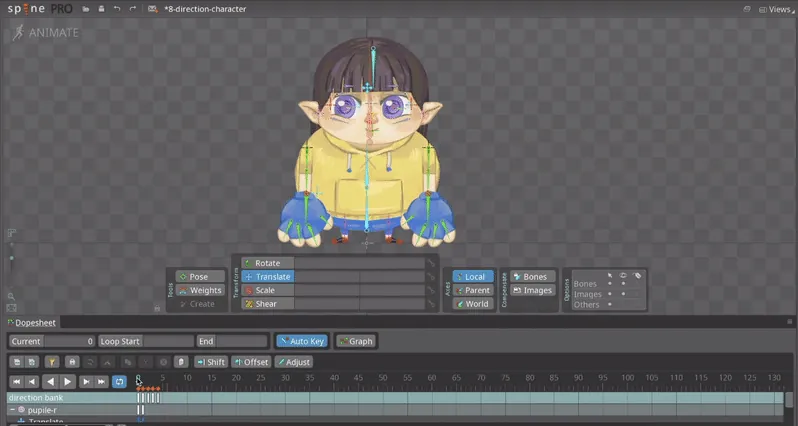
In the Animate mode, we will create an animation with all the five directions, which we will use as a direction bank.
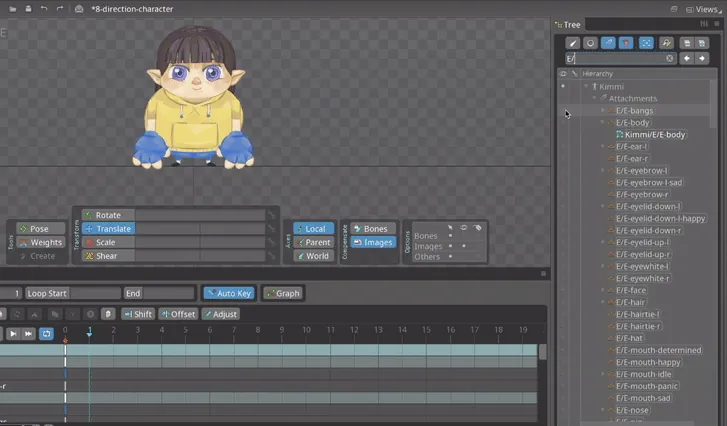
Starting with the South direction, we keyframe its relevant attachments. To optimize our workflow, we go the Tree and use the filter to show us only the Skin Placeholders. By writing S/ in the search box, we can easily access the relevant attachments.

We do the same in all directions.
Be sure to place different directions attachments at different times at the timeline. So 0 will contain the South direction, one the South-East direction, two the East direction, three the North-East direction, and four the North direction.
Some directions may need a change in their Draw Order, so don’t forget to Keyframe any changes.
Not all the attachments’ places are in line with the existing bones. We will have to reposition the attachments to fix it. We duplicate our whole skeleton to use as a reference.
Setting the duplicated skeleton’s slots to a darker transparent color will show us the main skeleton beneath it.
In our main skeleton at the setting mode, we go to each misplaced attachment and reposition it according to its relevant bone.
When we finish, we go to the animate mode and reposition the bones to recreate the original positions of the attachments. Be sure to have your Autokey toggled on, so each position change will be keyframed.
We need to add the arms and legs to all the different directions. Make sure you have the arms and legs attachments keyframe in all the five directions.
We reposition the arms control bone and the arm’s IK based on each direction. We do the same for the legs, though it can get a bit tricky with its 2 IKs, you will need to reposition the IKs and add a minus to the foot Scale.


