Originally published at https://notslot.com/blog/2020/04/spine-8-direction-character-part-4.
In this part, we will add a weapon to our character and animate an attack animation, and create a sword holding animation to be combined with our Idle and Walk animations by code.
Follow along! The download link contains the character’s PSD and the result Spine project of this article: Download PSD file
Adding New Attachment
Off-camera, I created this sword attachment.
I choose to create the sword only from the front view, but if you are looking for a more realistic approach, I recommend creating five different attachments for this sword – specific for each direction.
To add the sword to our Spine file, place the .png file inside the images folder. In the Spine project, click on Images → Refresh to see the sword image.
Dragging this image to the Setup mode will create a Slot for the sword.
As this character is going to hold the sword with its hands, we created a new bone for the sword and placed it under the left hand.

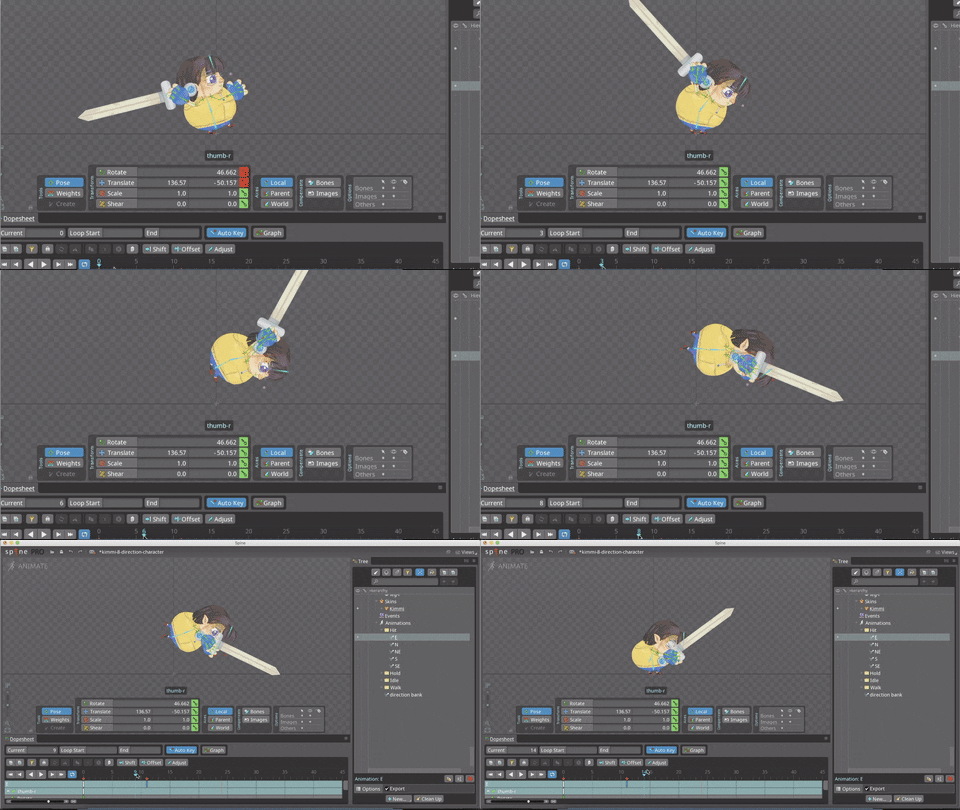
Jumping Attack
The character will swing the sword, and bang it against a lower enemy on the ground.
The animation starts with one of the legs up in the air, and a hand swinging the sword back. Next comes the bending forward, and the jump, while holding the sword with both hands. Once the sword hits the ground, we land.
We copy the animation to create the other directions, using the direction bank to rearrange the bones and switch to the relevant direction attachments.
This animation will need some VFX, like a smudge for the sword, but I will save that for another time.

Holding Animation
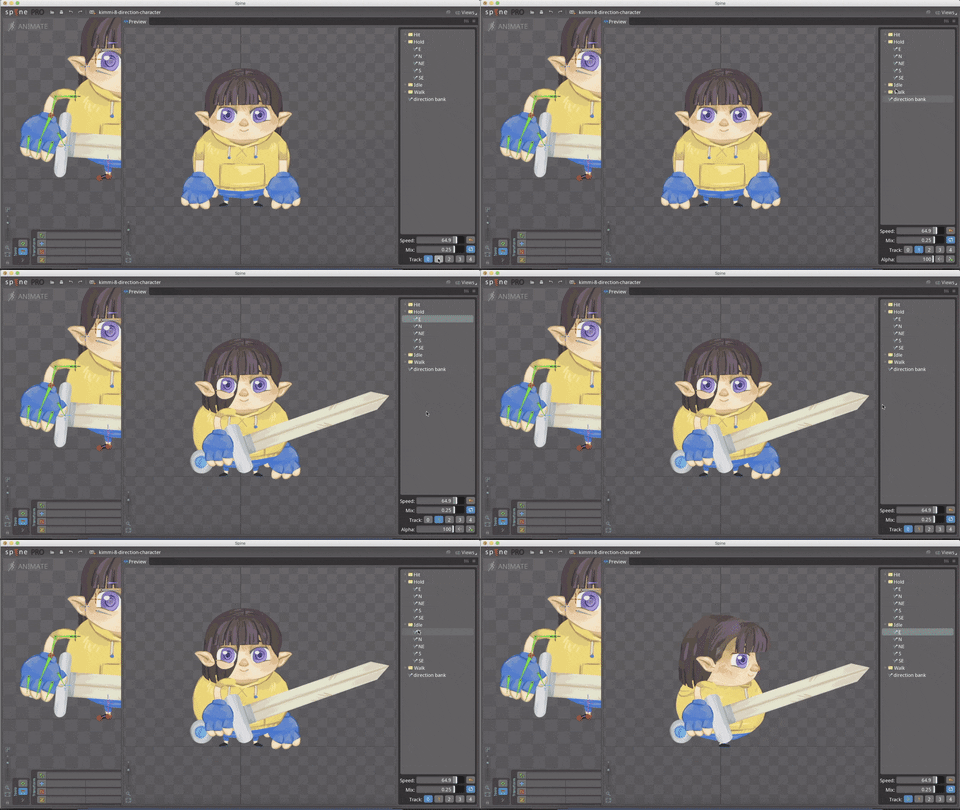
To create the hold animation, we are using Track Overriding. We create an animation with the relevant keyframes for the holding action and override it with either the Walk or the Idle animations.
It is important to make sure the holding animation contains only the keyframes we use for the holding. Any other random keyframes may override something important in the Idle or the Walk animation.
We use the tracks at the Preview window to see how our animations are overriding.
The upper layer will override the bottom layer. So we select the hold animation for track 1, and the Idle or Walk animation for track 0.
***
Be sure to download the Spine file from the link at the article’s beginning.
In the next part, we will create a script to integrate Spine with Unity. The same process can be applied in any environment with Spine runtime support, like Unreal.
I would love to hear your thoughts on Twitter (opens new window). Be sure to follow for updates when we post new tutorials on YouTube (opens new window).


