Hello and welcome to this weeks Dev Diary!
This week I will be showing some comparisons on how upscaling heightmaps effect them and what potential gains that might have for the developer.
First though, a tiny report concerning my PC; I re-installed my Windows 10 to see if that would reduce the crashes I have been experiencing. So far, there has been only one BSOD during night, after the computer had been on for 3 days straight. Previously my computer crashed at more irregular intervals, sometimes even after 24 hours and the next few days stay up just fine for 4 or 5 days. It is clear though, that despite running DISM and SFC after every crash, there were some corrupt files that were causing the more sudden crashes.
The Theory Behind The Practice
The theory behind the upscaling of the heightmaps was, that since most re-scaling algorithms add some details to the file, as they try to retain the details of the original file, upscaling heightmaps with certain algorithms should add granularity to the image, thus making the elevations smoother. This in turn should reduce the need for tweaking the 3D model after the heightmap has been used for it. The below examples share the same settings, that are;
- Plane 8m x 8m in size.
- Subdivided several times, first by 100, second by 6 and third by 1.
- Static light source - the lighting was unchanged between renders.
- Static camera - the camera remained stationary and settings unchanged between renders.
- Displacement effect scaled down to 0.1333
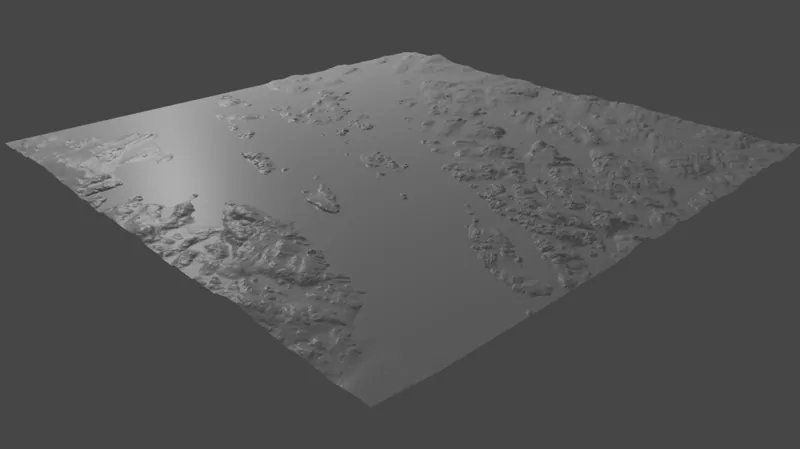
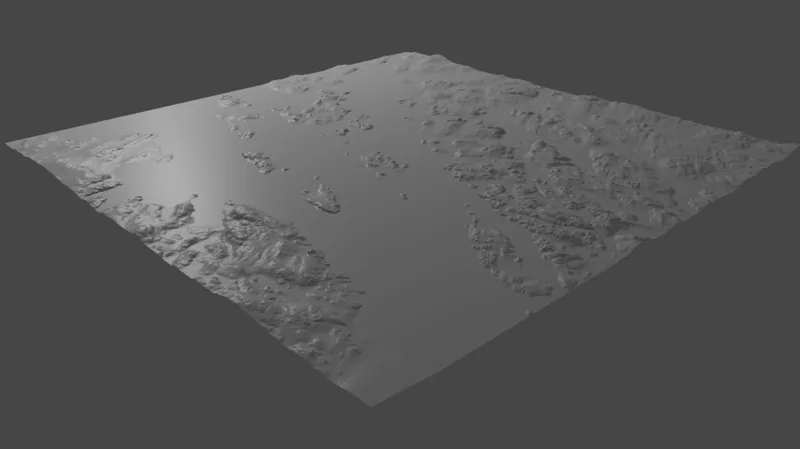
Above is the 3000 x 3000 pixel heightmap and below is the 12000 x 12000 pixel heightmap.
The difference is really subtle when compared to such a large area, as the covered area if the heightmaps are about 4 square kilometers. The differnece becomes more apparent when you scale down the area, as seen below;
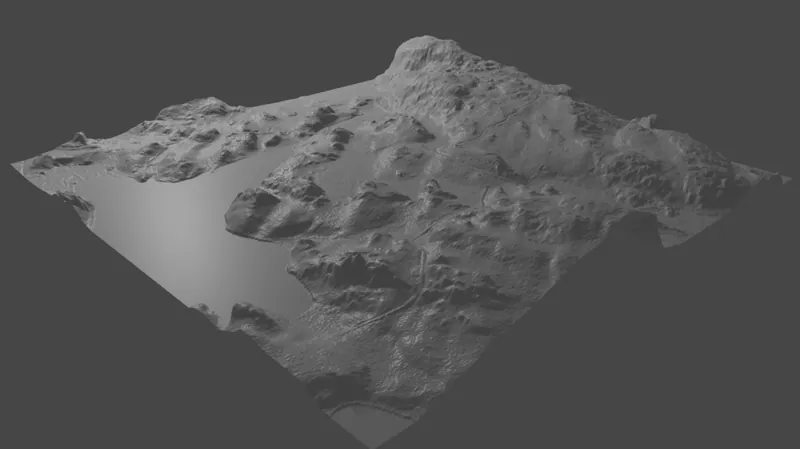
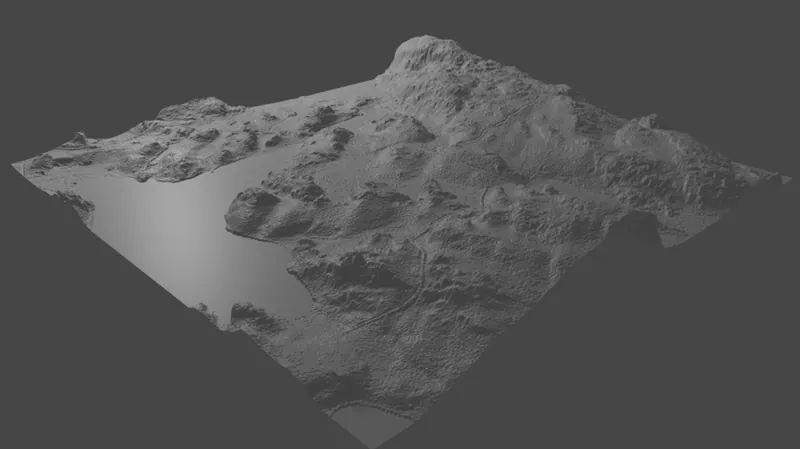
Above is the 750 x 750 pixel heightmap, taken from the original 3000 x 3000 pixel heightmap. Below is the 3000 x 3000 pixel heightmap, taken from the upscaled 12000 x 12000 heightmap.
As you can see from the above pictures, there is noticeably more detail on the higher resolution heightmap, as there are much more height differences, due to more graduation in the heightmap image. It seems like lighting changed a bit, but in truth, those are extra bumps in the terrain. The effects of upscaling the heightmap could still be much more visible, if the sample image used for diffusion were even smaller.
I'll try upscaling the heightmap even more in the future, and see where the differences become not worth the hasle, but it might well be, that depending on how much detail you want to have in the 3D mesh, there is no upper limit. At least when using a decent quality source for the heightmap.
The Raw Images
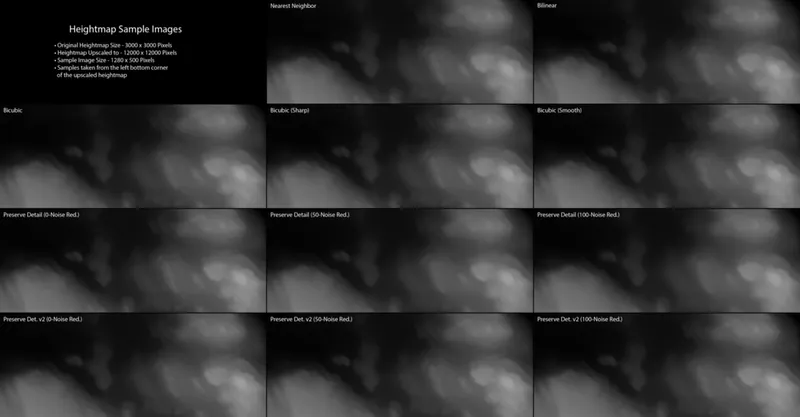
It wouldn't be so educational without the source image examples, now wouldn't it? Here are the side-by-side comparison images from the bottom left corner of the upscaled heightmap;
As you can see, the differences are must harder to spot from the sample images. The only clear difference is, when you compare the "Nearest Neighbor" with any other method of upscaling the image. I personally like the results of the "Preserve Detail V2" without the noise reduction effects, which makes the road tracks quite clear also.
Conclusion
This is but one example of how testing different solutions can bring benefits to developers, be it a beginner or a pro. Even when graphical designers often say, that upscaling regular images in conventional ways is not a wise thing to do (for a good reason), it depends highly on the application you need the upscaled image for. Hopefully this was beneficial to some of you.
Thank you for tuning in, and I'll see you on the next one!
You can check out every possible mid week announcements about the project on these official channels;
• YouTube • Facebook • Twitter • Discord • Reddit • Pinterest • SoundCloud • LinkedIn •


