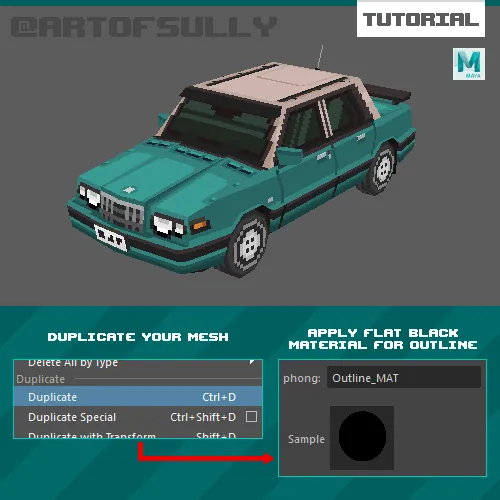
- Duplicate your mesh.
- Apply flat black material for the outline.
- Select your duplicated model and reverse its Normal direction. 'Face normals' are the direction a face is pointing/rendering.
- Next, we turn on backface culling. 'Backfaces' are the sides of faces that are pointing away from the normal direction.
- Change your move manipulator to move based on normal direction. Then scale the mesh outwards.
You can use a shader to do this but you will often get issues at corners where the faces diverge.
Be mindful of your poly count since you're basically doubling it. If you're working super low-poly though it's all good!
Note: This tutorial was originally published on the author's website, and is reproduced here with kind permission. Check out Brendan's ArtStation and Twitter accounts for portfolio and other tutorials.


.thumb.png.a9a17286792efc179caccc72c3e67c21.png)


That's awesome! Nice tip.