Advertisement

Unity's auto exposure

Started by May 25, 2024 04:09 AM
6 comments, last by Josh Klint 7 months ago

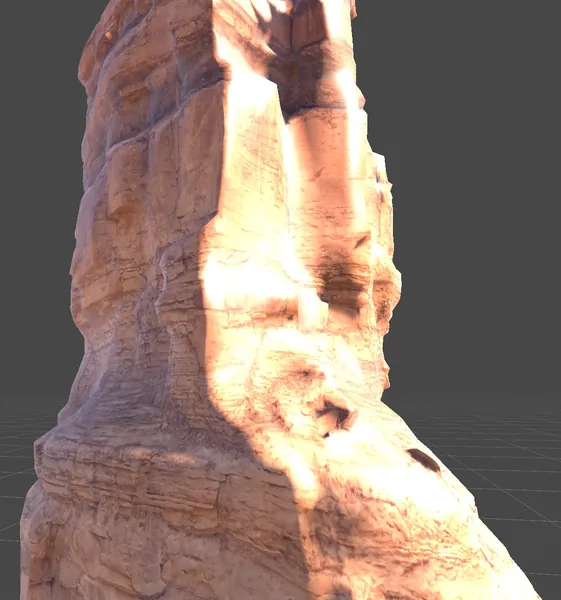
The default auto-exposure or lighting in the current version of Unity looks quite good. What exactly is going on here?

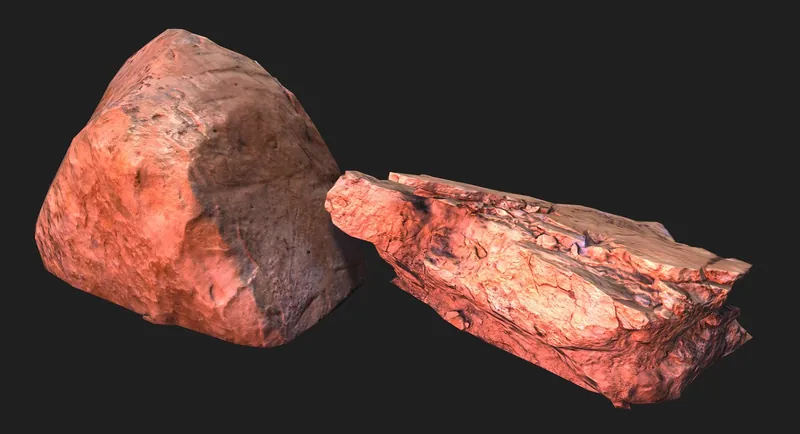
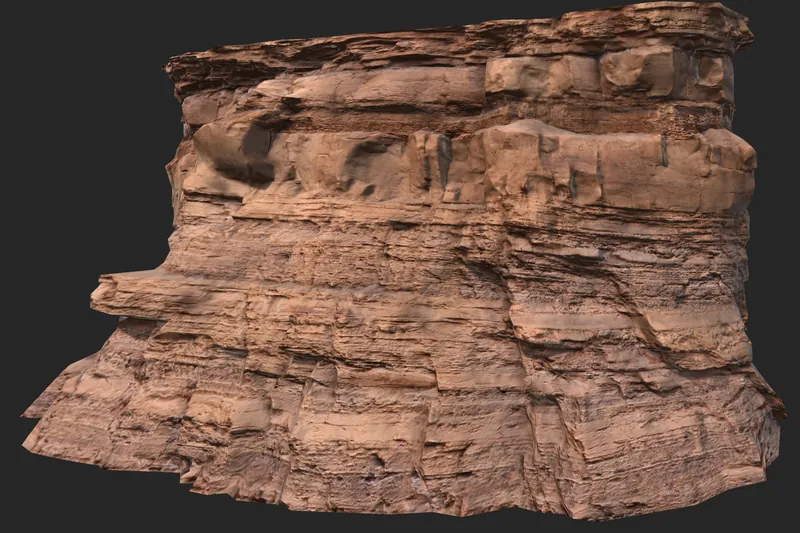
I use the standard PBR lighting code from Khronos and the same models look solid orange in my renderer.

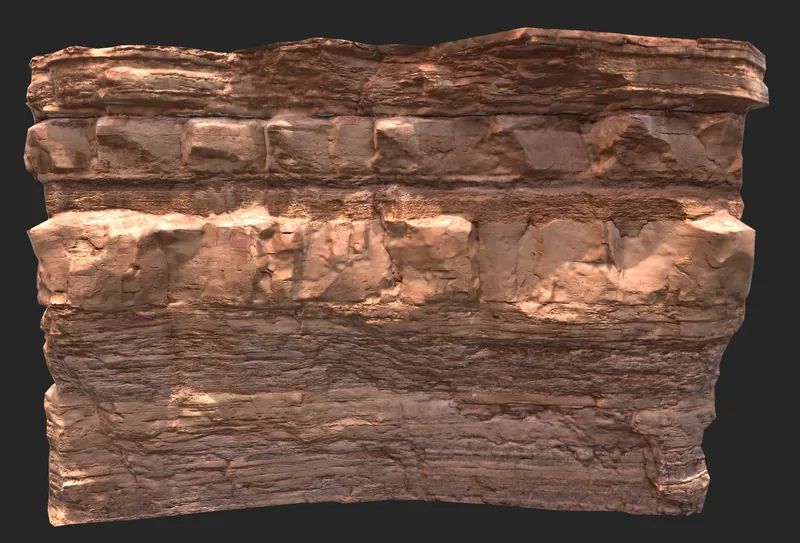
If I remove the normal map for clarity, you can see the unity renderer is allowing a great amount of detail in the variation of the color, much more than you would get by multiplying light values by the albedo.

Can someone explain what is going on here? Obviously there's some auto-exposure increasing the brightness, but there's something else going on here that looks quite good.

10x Faster Performance for VR: www.ultraengine.com

If I set the material color to (2, 2, 2, 1) in my renderer, it seems like this lets the colors “break free” from their original monochrome orange, although it still looks too saturated. This reminds me of the old mod2x blending in the fixed function pipeline. Can someone explain to me how to do this properly, with some consistency?

10x Faster Performance for VR: www.ultraengine.com

Advertisement

Josh Klint said:
Can someone explain what is going on here? Obviously there's some auto-exposure increasing the brightness, but there's something else going on here that looks quite good.

It looks like a bad (or no) tone mapper (in Unity). That saturation effect is an artifact of applying tone mapping or numerical saturation/clamping to RGB independently. The blown-out bright spots are where the pixel value is clamped to 1. Your rendering looks better to me, especially the brighter one in the second post. The other difference in the Unity one is the blueish sky ambient light.

For tone mapping, I like the exponential one applied separately to RGB:

vec3 toneMapExpRGB( in vec3 color )
{
	// Normalize so that input of 1 produces output of 0.8.
	color *= -2.321928094887361;
	return 1.0 - exp2( color );
}

I also combine that with a “color bleed” effect (applied before tone mapper) which simulates crosstalk between R,G,B sensors at high brightness:

/// Bleed RGB channels into each other so that bright colors saturate to white.
vec3 bleedChannels( vec3 color, float amount )
{
	// Squaring color makes the effect stronger at higher brightness.
	vec3 bleed = color * color * amount;
	
	// Mix each channel into the others.
	color.gb += bleed.r;
	color.rb += bleed.g;
	color.rg += bleed.b;
	
	return color;
}

For this to look right you need to set the exposure to slightly over-expose the image (i.e. at least some pixels values > 1). There are different ways to determine the exposure automatically. I believe the best methods use a compute shader to build a histogram of pixel intensities, then use the middle 5%-95% of the histogram totals to bracket the exposure (clipping very dark and very bright pixels). This is similar to what the “auto contrast” filter does in Photoshop.
Josh Klint said:
Obviously there's some auto-exposure increasing the brightness, but there's something else going on here that looks quite good.

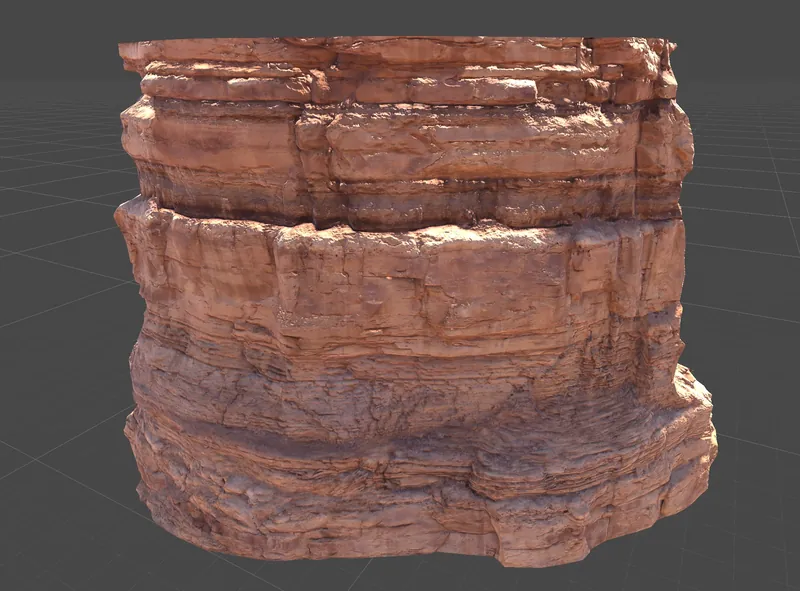
I can see reflections of a sky environment with exaggerated fresnel lacking self occlusion, and i see aggressive exposure burning away all the texture in the lit spots.

It's quite good but also quite bad. : )

Yeah, I think there are three things going on here:

  • The bright areas are just overexposure. I was able to reproduce that pretty easily.
  • I usually use overcast skyboxes with dramatic clouds because they look cool, but when that gets blurred the result is just a solid gray diffuse reflection. I think their default skybox has a lot of blue overhead and an orange on the horizon, which blends really nicely with this model in particular, since it is orangish / reddish.
  • Using a detail normal map reduces the blobby appearance of the normal map.

Will try some things and see what results I get…

10x Faster Performance for VR: www.ultraengine.com

Note. Unity does use reflection from the sky dome (on default there is a generic sky dome with dynamic sky shader with sun). You would have to go into environment settings and disable things there.

My current blog on programming, linux and stuff - http://gameprogrammerdiary.blogspot.com

Advertisement

I got a pretty close match by using a more colorful PBR environment map. It's not exact, but close enough that I feel I can replicate the same look if desired.

10x Faster Performance for VR: www.ultraengine.com

This topic is closed to new replies.

Advertisement