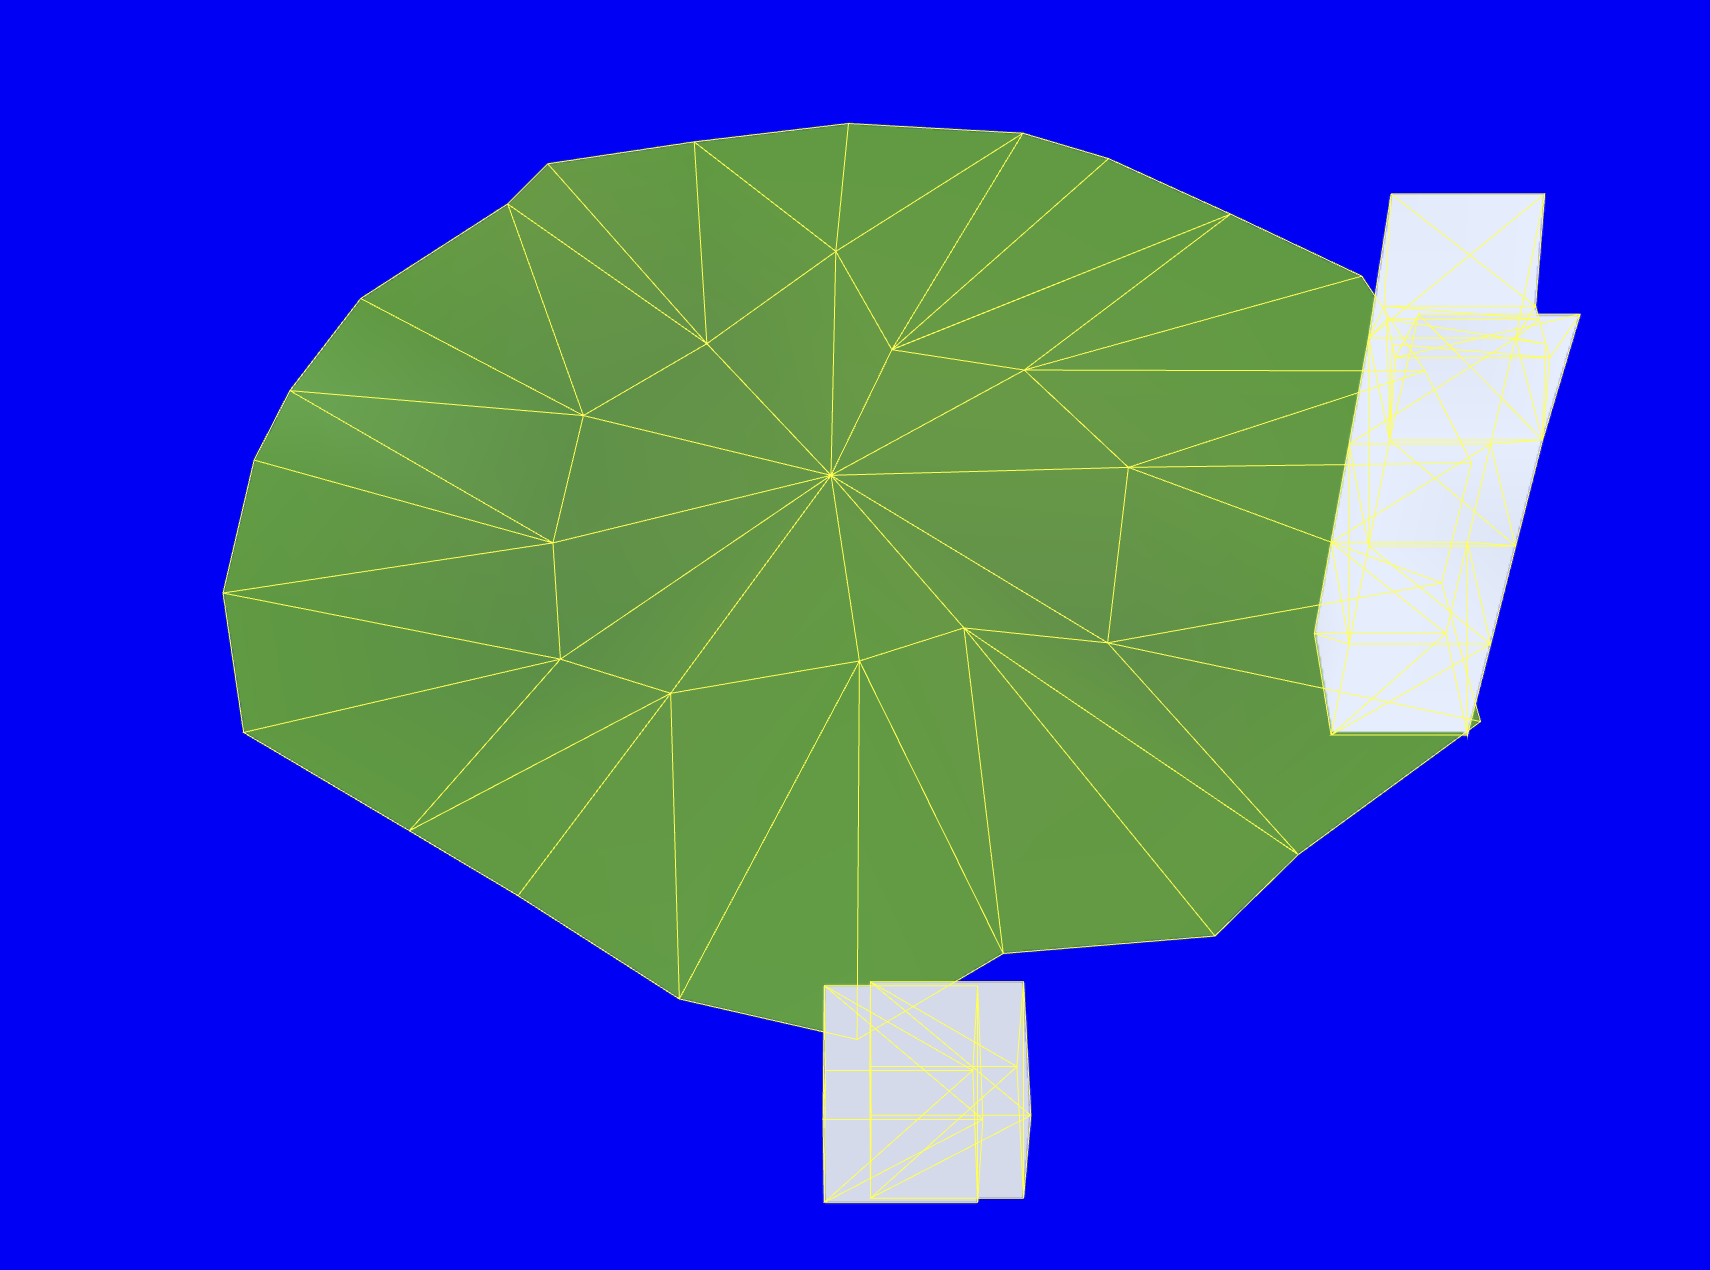
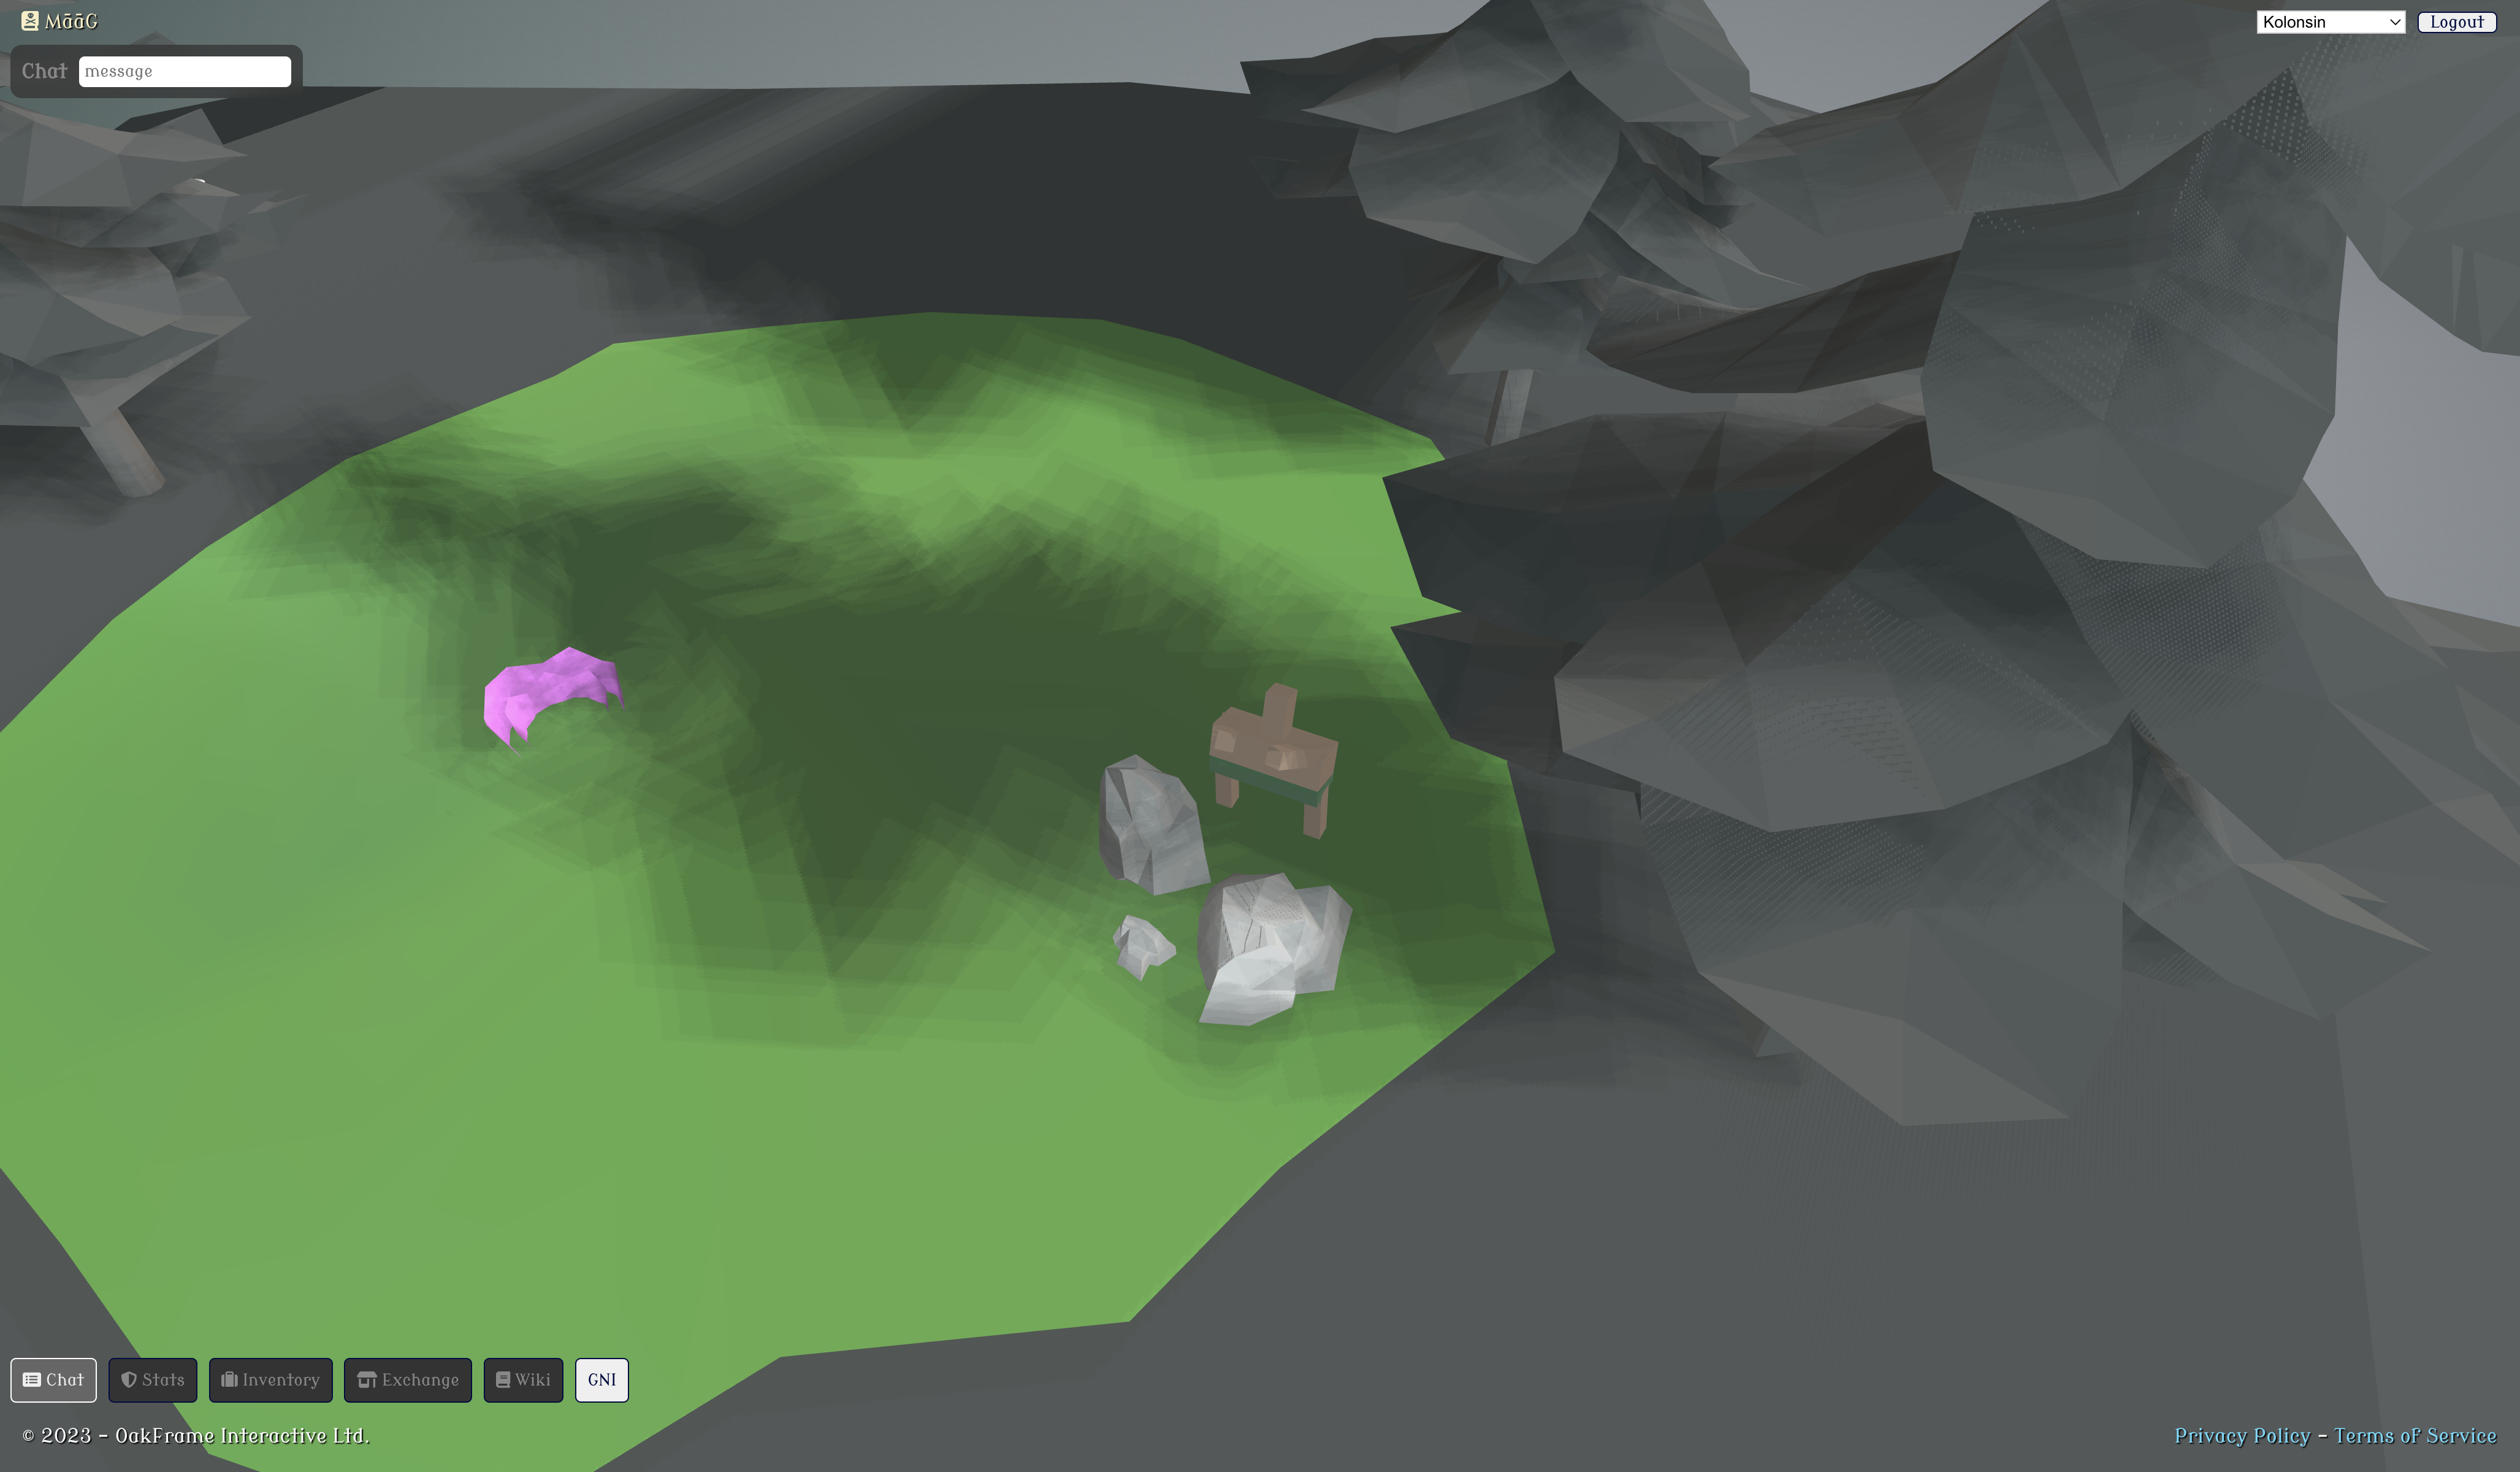
In the latest phase of our game development, we have made significant progress in integrating a custom WebGL rendering engine within a React application. This integration was not only about rendering 3D graphics but also about aligning the rendering pipeline with React's component-based architecture and handling UI elements
Custom WebGL Rendering Engine
Motivation and Design
Our decision to implement a custom WebGL rendering engine stemmed from the need for precise control over 3D graphics and UI integration. Standard libraries, though efficient, lacked the flexibility required for our specific use case, particularly in shadow rendering and UI overlay.

Core Implementation
The core of our engine revolves around managing WebGL contexts, shaders, and buffers within React components. We employed gl-matrix for mathematical operations, essential for handling camera perspectives and transformations.
Shader Compilation and Buffer Initialization
The initial step involved setting up shader compilation and buffer initialization:
// Shader compilation
const shaderProgram = initShaderProgram(gl, vsSource, fsSource);
// Buffer initialization
const buffers = initBuffers(gl, plyData());
Shadow Mapping
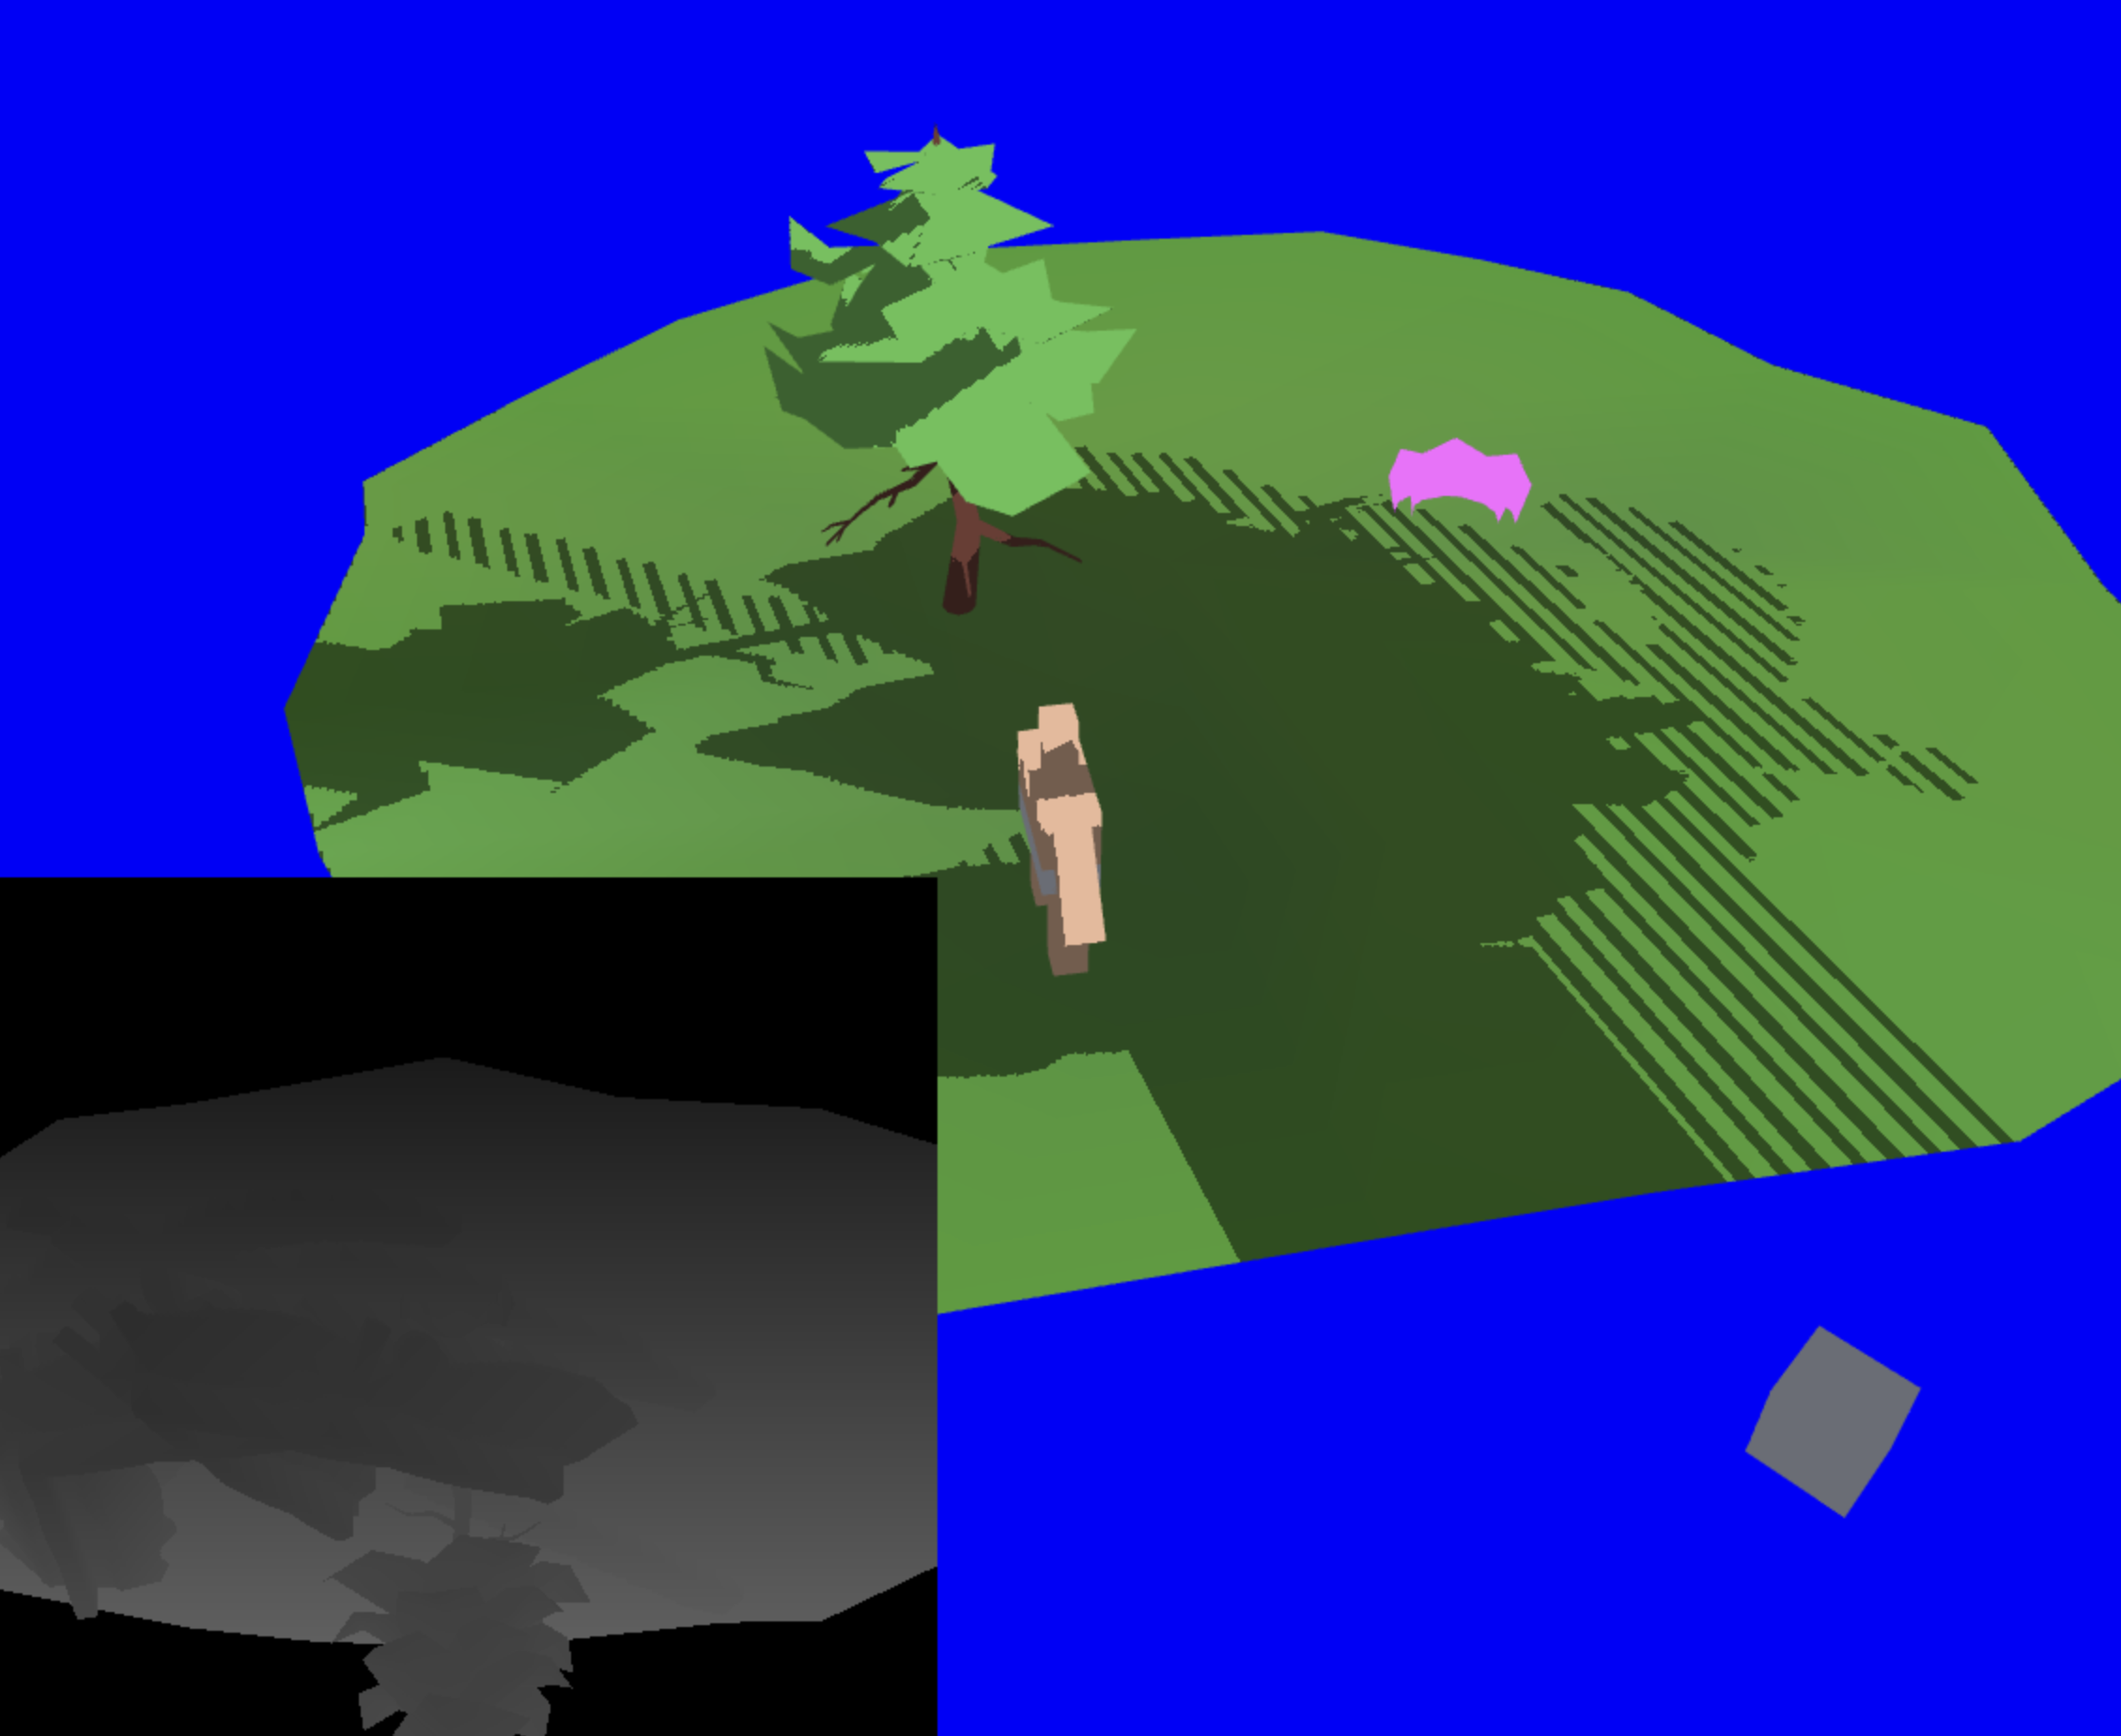
One of the critical features in our engine was the implementation of shadow maps:
// Shadow map creation
shadowMap = createShadowMap(gl, SHADOW_MAP_SIZE, SHADOW_MAP_SIZE);
Integration with React
Custom Renderer Component
We encapsulated our rendering logic within a custom DefaultRenderer React component. This component manages the WebGL context and reacts to state changes for dynamic updates.
The Rendering Loop
The rendering loop is initiated within the useEffect hook, ensuring that it aligns with the React component lifecycle:

useEffect(() => {
// ...initialization logic...
const render = (now) => {
// ...rendering logic...
};
const fr = requestAnimationFrame(render);
return () => {
cancelAnimationFrame(fr);
};
}, [scene, world, plyData]);
Scene and Camera Setup
The scene setup involves configuring the camera, projection matrix, and initial model transformations:
const fieldOfView = camera.fov * Math.PI / 180;
const projectionMatrix = mat4.create();
mat4.perspective(projectionMatrix, fieldOfView, aspect, zNear, zFar);
const modelViewMatrix = mat4.create();
mat4.lookAt(modelViewMatrix, cameraFrom, cameraTo, [0, 0, 1]);

Rendering with Shadows
To render scenes with shadows, we first render from the light's perspective to the shadow map and then render the scene normally while applying the shadow map:
renderSceneFromLightPerspective(gl, shadowShaderProgram, shadowMap, buffers, lightProjectionMatrix, lightViewMatrix);
drawSceneShadowMapped(gl, cameraShaderProgram, buffers, shadowMap, scene, world, camera, lightProjectionMatrix, lightViewMatrix);
Conclusion
The development of our custom WebGL rendering engine in React has been a complex yet rewarding endeavor. By integrating 3D graphics rendering directly within React components, we have achieved a high degree of control over our game's visual aspects and UI interactions.
Try it out online for free at MāāG™ - Mana Worlds!


Have you encountered any problems with WebGL running on iPadOS 17?