Advertisement

Blender clothing rig problem

Started by October 05, 2019 05:36 PM
3 comments, last by orangcrsh 5 years, 2 months ago

Hey guys, I'm trying to follow this 50sec tutorial right here :
https://www.youtube.com/watch?v=FMsfW3EVubU

at the 0:25 step, he add a Transfer Data modifer to the clothing
and when I select just like him my character as the source:

unknown.png

BEFORE WITH NO SOURCE:

unknown.png

WITH THE CHARACTER AS THE SOURCE (wich is Cube in this case):

unknown.png?width=1202&height=677

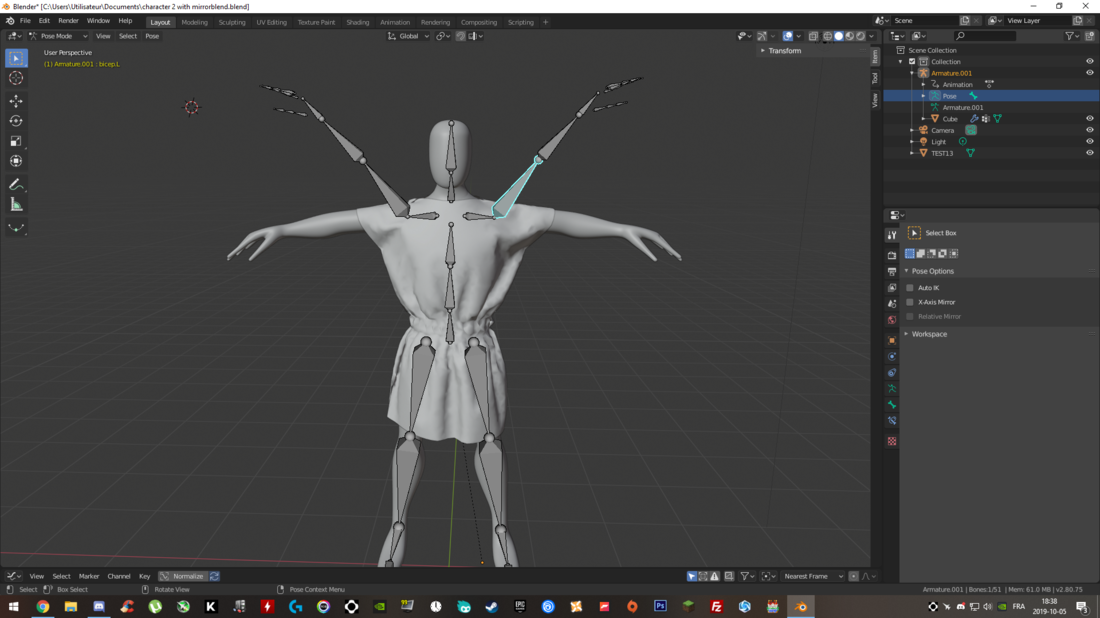
The problem is the clothing on the shoulder, like why it's going up like that ?

You're using the Nearest Vertex as geometry source and that can be a bit coarse, try changing it to Nearest Face Interpolated, which is basically "the point on the source surface that's nearest to the target vertex" which approximates better. 
Not saying this will solve the problem, but most of the time you'll want to use this setting.

Advertisement
1 hour ago, Kryzon said:

You're using the Nearest Vertex as geometry source and that can be a bit coarse, try changing it to Nearest Face Interpolated, which is basically "the point on the source surface that's nearest to the target vertex" which approximates better. 
Not saying this will solve the problem, but most of the time you'll want to use this setting.

This is noted. Also the problem is still there but more precised I guess lol

image.thumb.png.3acf1ae3f776218ae756b4a997282be5.pngI think it's because of the pose because if I go to pose, than apply pose to rest pose, look what it does !

This topic is closed to new replies.

Advertisement