Advertisement

Tangent-Space Normal Mapping Normalization

Started by April 24, 2018 08:45 PM
10 comments, last by matt77hias 6 years, 9 months ago

An extension of the Sponza model adds 13 tangent-space normal maps (now every submodel has a normal map). Though, these additional normal maps seem far from normalized. Luckily, the z channel is provided as well. So I decided to normalize them myself (I converted all .tga files first to .png files):


import cv2
import numpy as np

def normalize(v):
    norm = np.linalg.norm(v)
    return v if norm == 0.0 else v / norm

def normalize_image(fname):
    # [0, 255]^3
    img_in  = cv2.imread(fname)
    img_out = np.zeros(img_in.shape)
    # [0.0, 1.0]^3
    img_in  = img_in.astype(np.float64) / 255.0
    # [-1.0, 1.0]x[-1.0, 1.0]x[0.0, 1.0]
    img_in[:,:,:2] = 2.0 * img_in[:,:,:2] - 1.0

    height, width, _ = img_in.shape
    for i in range(0,height):
        for j in range(0,width):
            # [-1.0, 1.0]x[-1.0, 1.0]x[0.0, 1.0]
            v = np.float64(normalize(img_in[i,j]))
            # [0.0, 1.0]^3
            v[:2] = 0.5 * v[:2] + 0.5
            # [0, 255]^3
            img_out[i,j] = v * 255.0
            
    cv2.imwrite(fname, img_out)

This works ok for the original tangent-space normal maps, but not for the additional 13 tangent-space normal maps.

Way too dark original:

sponza_curtain_blue_normal.thumb.png.69195eeb25608b78019e5fa04e7bd3f6.png

Not so very blue-ish normalized version:

sponza_curtain_blue_normal.thumb.png.86e0a180c12a399a938be8dd7b78deb2.png

Any ideas?

Another example:

sponza_details_normal.thumb.png.fc281aa64f37cc863e9d3df30b2b8435.pngsponza_details_normal.thumb.png.c8bc0f6d8eff74c1e8768cc128a45fd6.png

🧙

But wait, these don't seem like normal maps at all?! Are you sure you picked correct PBR images for Sponza and used them correctly - check my curtain normal map:

large_tmp.png.0ad19d5b551c7216c972e7d86b4df767.png

For the sake of completness, another one:

large_tmp.png.5a96bd54b91b4e78a74a2502fe65e319.png

My current blog on programming, linux and stuff - http://gameprogrammerdiary.blogspot.com

Advertisement

@Vilem Otte

I had something similar before:

sponza_curtain_green_normal.thumb.png.54cd669bd5f93ca2fb56f8a537679baf.pngsponza_details_normal.thumb.png.86bef61e0f94aa14891350386dffb717.png

with my old conversion code:


def normalize_image(fname):
    img_in  = cv2.imread(fname)
    img_out = np.zeros(img_in.shape)
    img_in  = img_in.astype(float) / 255.0
    
    height, width, _ = img_in.shape
    for i in range(0,height):
        for j in range(0,width):
            img_out[i,j] = np.clip((normalize(img_in[i,j]) * 255.0), 0.0, 255.0)
            
    cv2.imwrite(fname, img_out)

But then I realized that I wasn't considering negative coefficients. The tangent and bitangent coefficient range from -1 to 1 instead of 0 to 1. So xy should be considered as SNORM and z as UNORM (isn't needed anymore after normalization). 

🧙

6 hours ago, Vilem Otte said:

Are you sure you picked correct PBR images for Sponza and used them correctly

The first image is provided in the .zip (not my conversions). I also checked the second .zip, but that contains bump maps.

The original of Frank Meinl misses these 13 additional normal maps/bump maps.

🧙

Figured out that OpenCV loads PNGs as BGR instead of RGB, so I changed 2 lines:


# [0.0, 1.0]x[-1.0, 1.0]x[-1.0, 1.0] BGR
img_in[:,:,1:] = 2.0 * img_in[:,:,1:] - 1.0

# [0.0, 1.0]^3
v[1:] = 0.5 * v[1:] + 0.5

This results in pretty much a no-op. The original textures seem already normalized. Although, they do not look like tangent-space normal maps at all?

sponza_fabric_red_normal.thumb.png.9eae4e8b1880ed0909366afae38d7467.pngimageproxy.php?img=&key=2aa9ad0c79a985be

🧙

@Vilem Otte

The two tsnms you posted are pretty much normalized themselves. No idea where you found them or how you converted the original ones.

Could you please upload the following tsnms:

  • ceiling
  • curtain (I guess the three curtain tsnms are identical)
  • details
  • fabric (I guess the three fabric tsnms are identical)
  • flagpole
  • floor
  • roof
  • vase hanging
  • vase plant

🧙

Advertisement

My Sponza crusade keeps going on :D

Apparently, the windows thubnails of the .tga's look right. Irfanview and Gimp somehow demolish the .tga's. So I decided to use Photoshop for this (.tga's are loaded correctly). I think there is somehow an alpha channel messing things up.

🧙

First. I apologize - especially to the moderators - for sending post with large images (yet it's necessary to explain what is going on).

Hearing about you using image editor - I know where the devil is, I'm using actually Gimp, and there is one problem -> Alpha channel contains height.

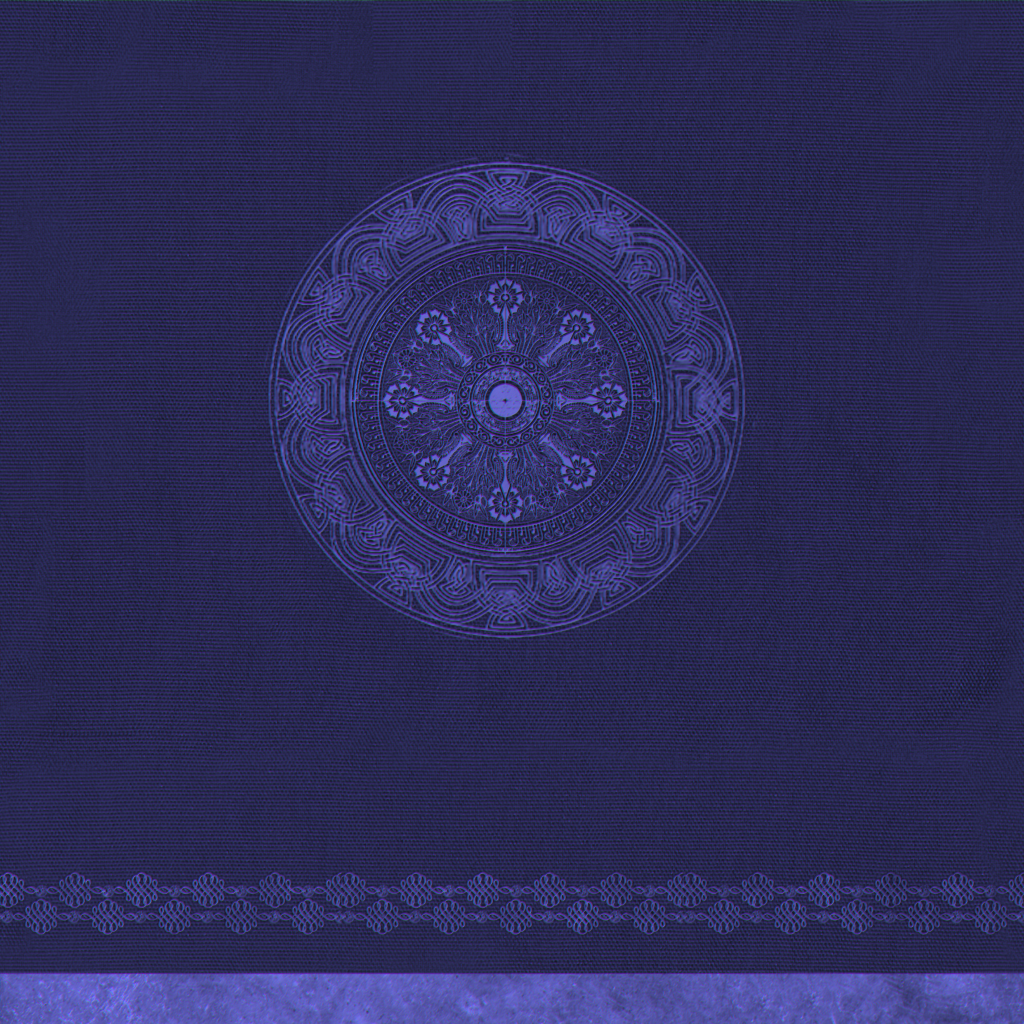
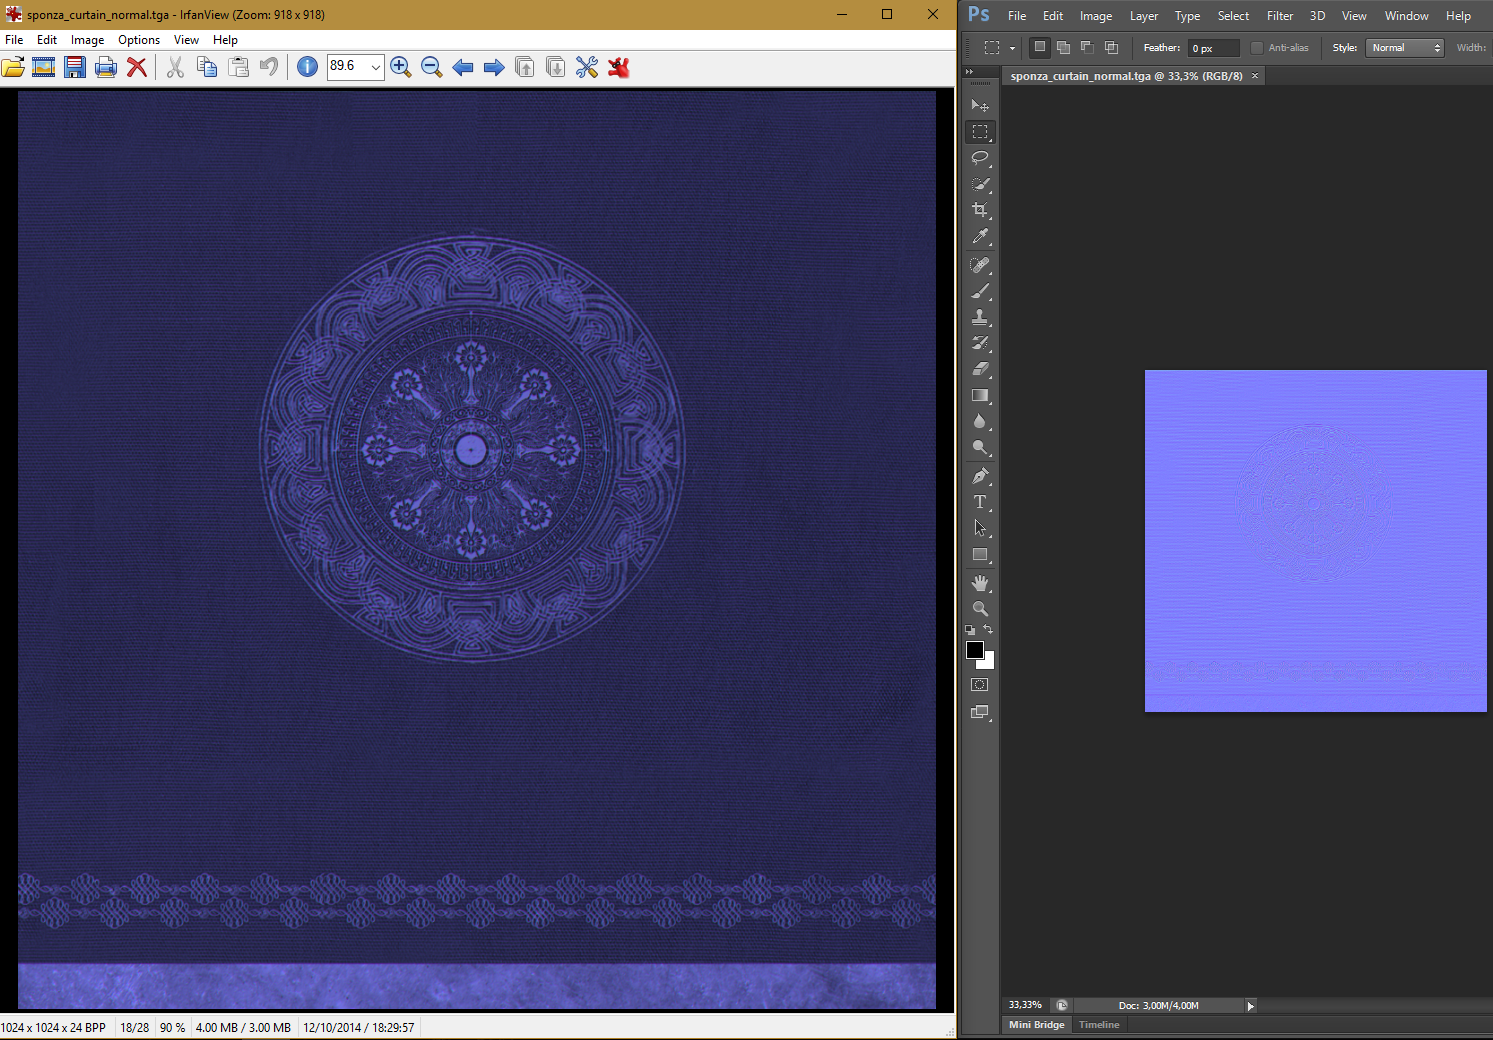
This is what image looks like in Gimp (I'm using Ceiling as example):

2bMTxbY.png

De-composing this into channels gives you these 4 images (Red, Green, Blue and Alpha):

279lQR6.jpg

ckc8O1E.jpg

0UEY1As.png

kaPLv0H.jpg

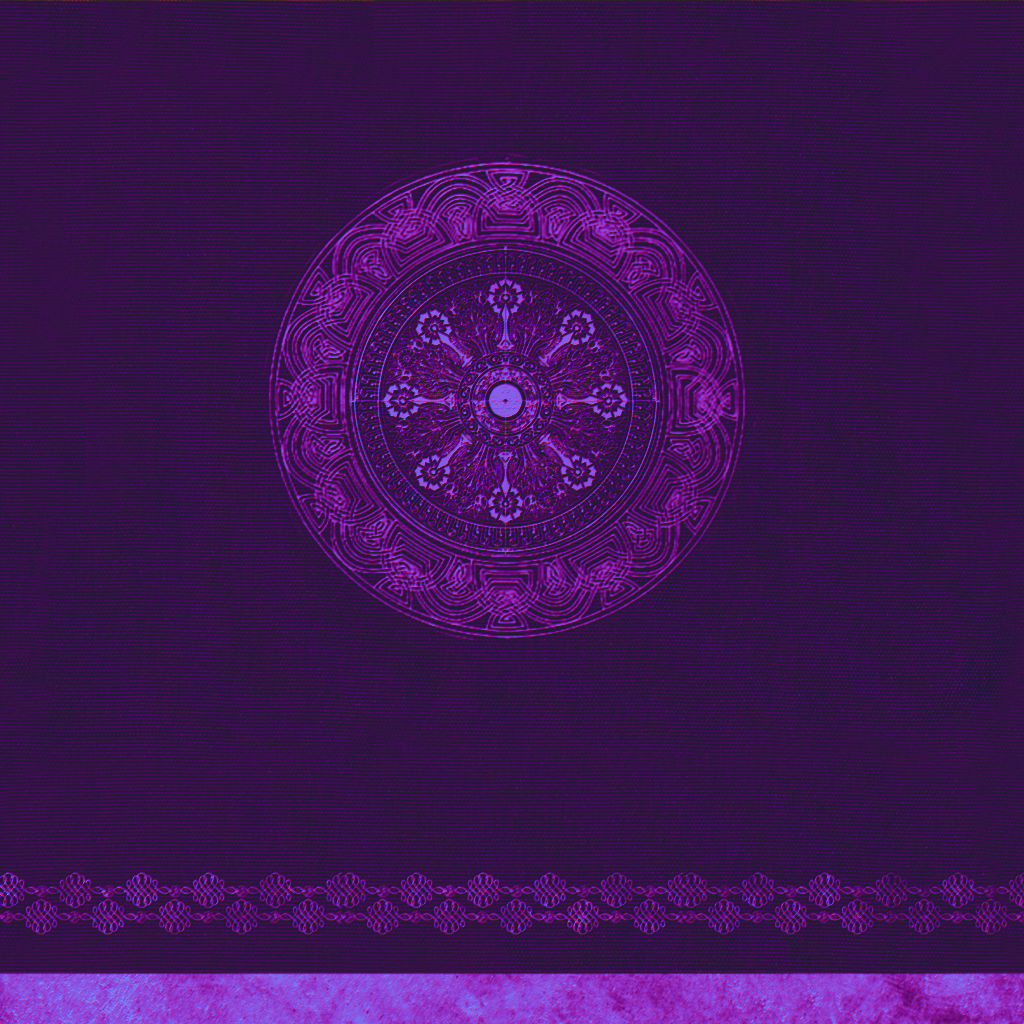
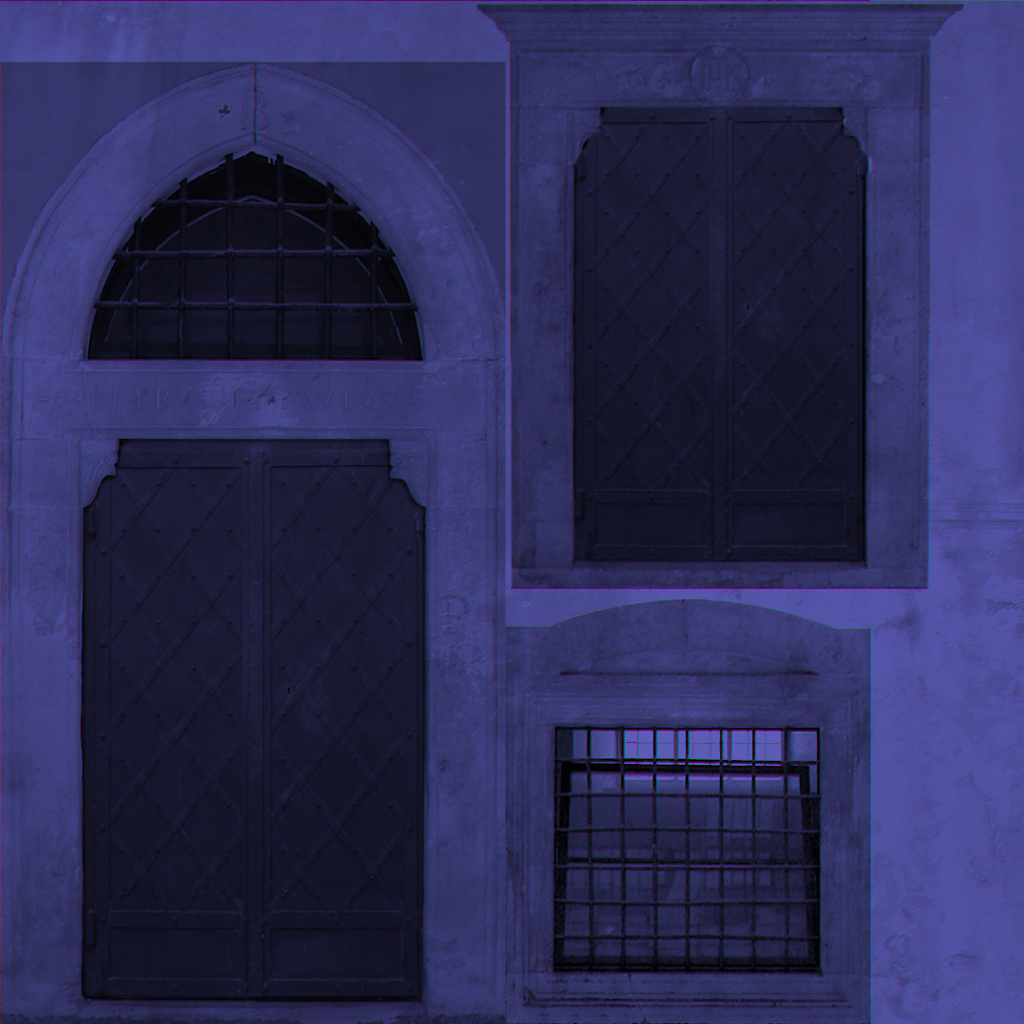
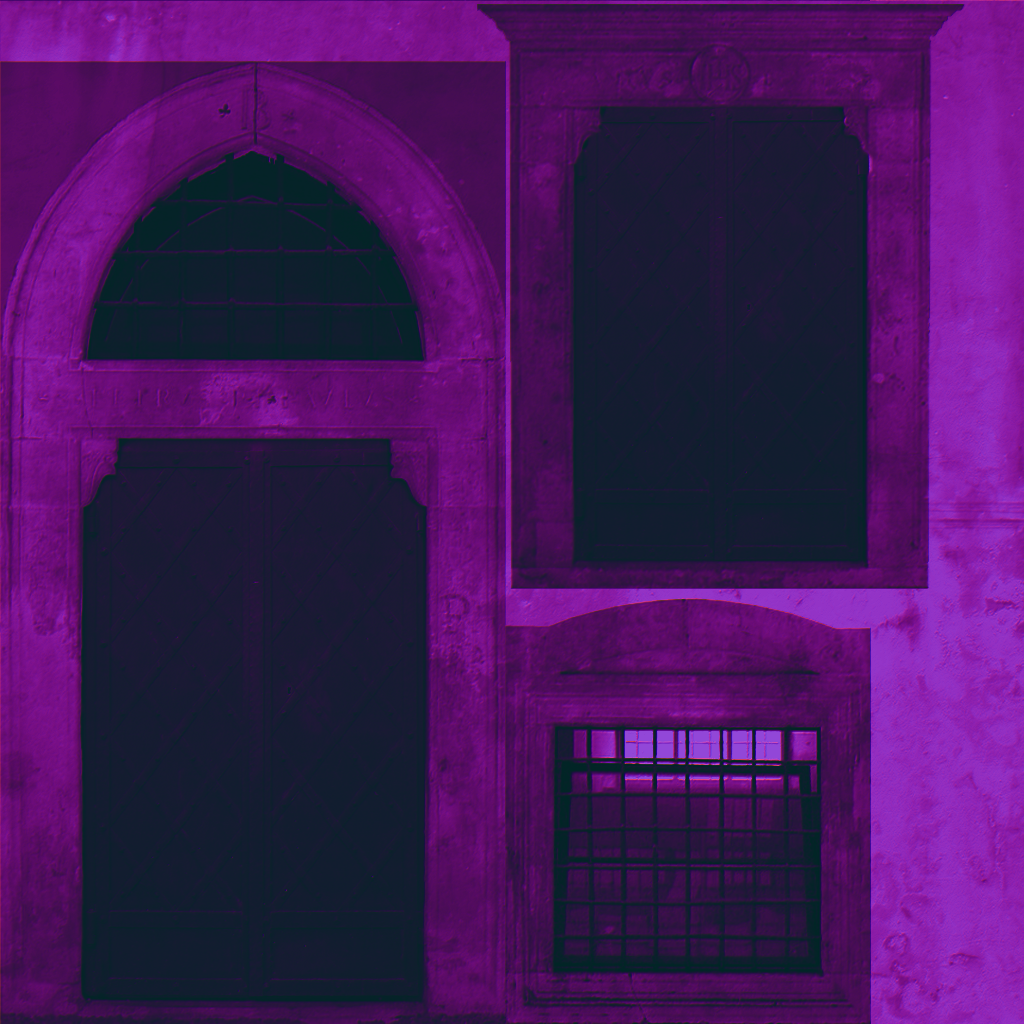
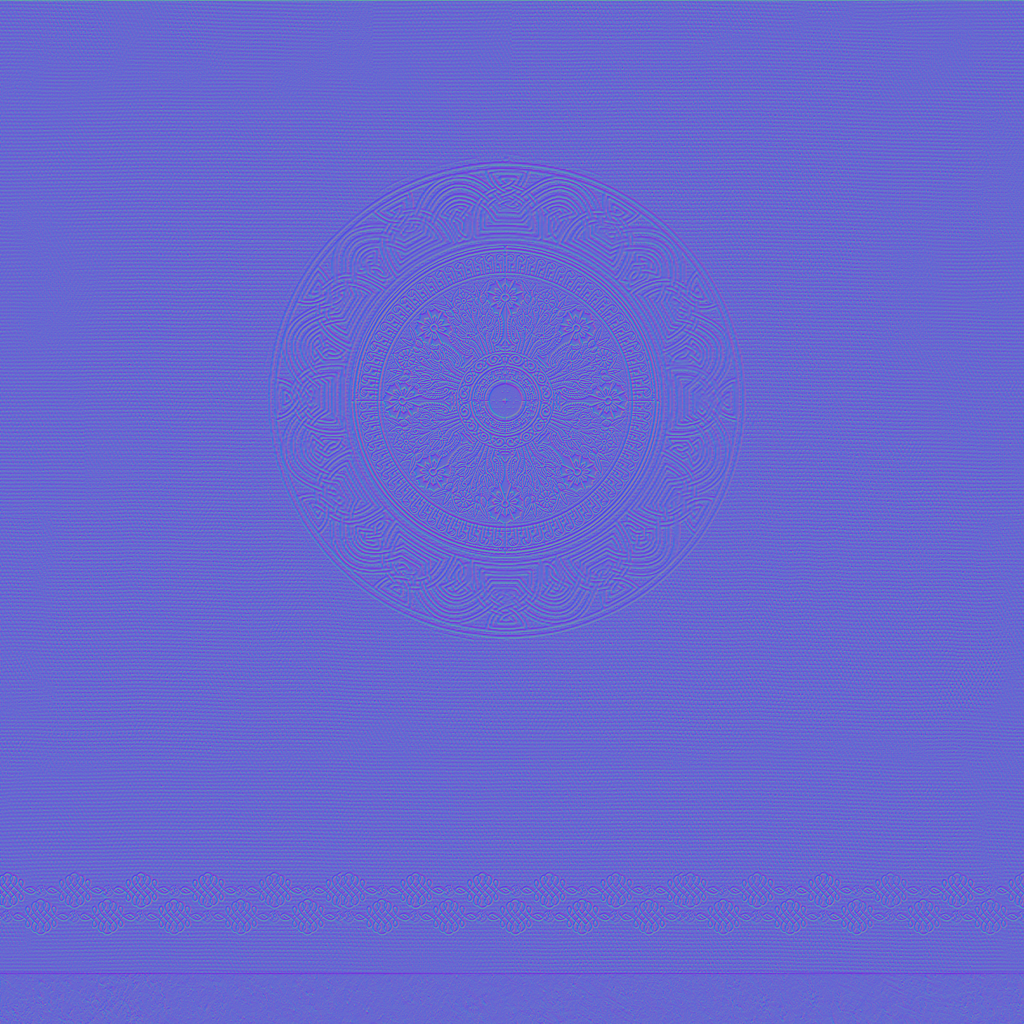
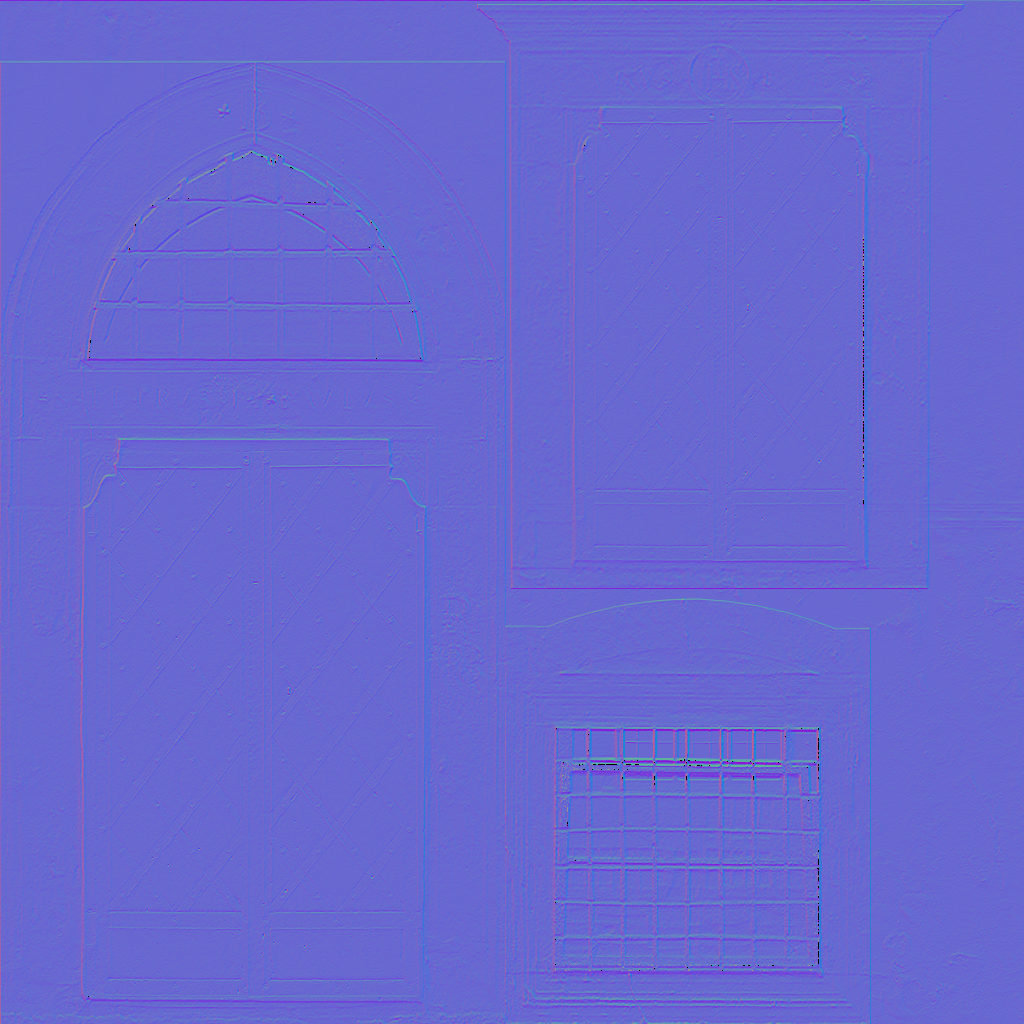
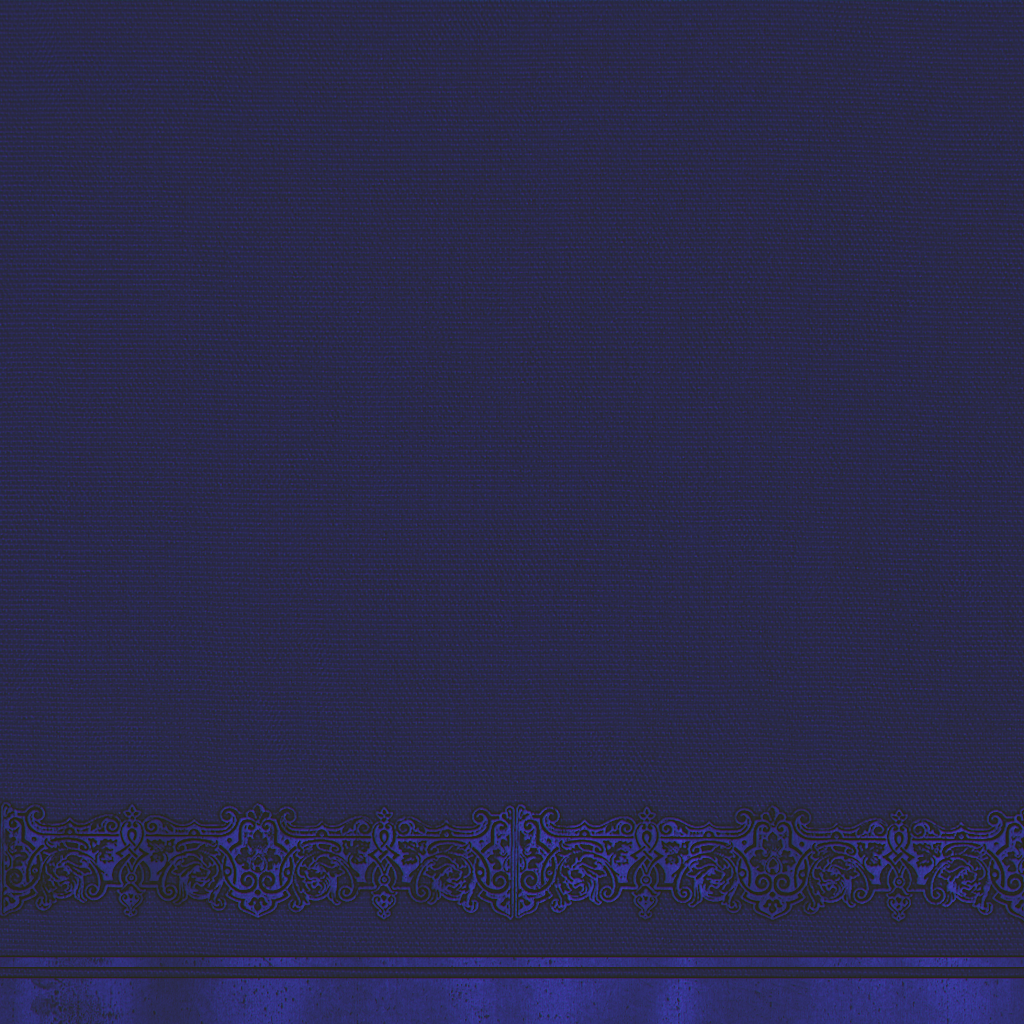
You need to decompose to RGBA, and then compose just from RGB (e.g. set alpha to 255) to obtain a normal map. Look at 2 examples, in the first one I set alpha to 255 and re-composed image. In the second one I just removed alpha:

2gzS2WI.jpg

WKWmh29.jpg

I assume you recognize the second one. Now to explain what is going on - you need to look at how software removes alpha channel from the image.

Now I will quote here directly from GIMP source code (had to dig there a bit). The callback to remove alpha is this:


void
layers_alpha_remove_cmd_callback (GtkAction *action,
                                  gpointer   data)
{
  GimpImage *image;
  GimpLayer *layer;
  return_if_no_layer (image, layer, data);

  if (gimp_drawable_has_alpha (GIMP_DRAWABLE (layer)))
    {
      gimp_layer_remove_alpha (layer, action_data_get_context (data));
      gimp_image_flush (image);
    }
}

So what you're interested in is - gimp_layer_remove_alpha  - procedure. Which is:


void
gimp_layer_remove_alpha (GimpLayer   *layer,
                         GimpContext *context)
{
  GeglBuffer *new_buffer;
  GimpRGB     background;

  g_return_if_fail (GIMP_IS_LAYER (layer));
  g_return_if_fail (GIMP_IS_CONTEXT (context));

  if (! gimp_drawable_has_alpha (GIMP_DRAWABLE (layer)))
    return;

  new_buffer =
    gegl_buffer_new (GEGL_RECTANGLE (0, 0,
                                     gimp_item_get_width  (GIMP_ITEM (layer)),
                                     gimp_item_get_height (GIMP_ITEM (layer))),
                     gimp_drawable_get_format_without_alpha (GIMP_DRAWABLE (layer)));

  gimp_context_get_background (context, &background);
  gimp_pickable_srgb_to_image_color (GIMP_PICKABLE (layer),
                                     &background, &background);

  gimp_gegl_apply_flatten (gimp_drawable_get_buffer (GIMP_DRAWABLE (layer)),
                           NULL, NULL,
                           new_buffer, &background,
                           gimp_layer_get_real_composite_space (layer));

  gimp_drawable_set_buffer (GIMP_DRAWABLE (layer),
                            gimp_item_is_attached (GIMP_ITEM (layer)),
                            C_("undo-type", "Remove Alpha Channel"),
                            new_buffer);
  g_object_unref (new_buffer);
}

No need to go any further in the code base. As you see, image background is obtained in RGB format from RGBA, the:


gimp_context_get_background

gimp_pickable_srgb_to_image_color

If you would dig in these functions a bit (and you would need to also dig a bit in GEGL), you would find out that the operation actually done when removing alpha is:


R_out = R_in * A_in
G_out = G_in * A_in
B_out = B_in * A_in

Such image is then set as output instead of previous image (rest of the functions).


Now, I can't tell for Photoshop (I've worked with Gimp quite a lot so far) - but I'd assume they do similar, if not the same transformation. So you're out of luck using it for conversion. What you actually need as an operation is:


R = R_in;
G = G_in;
B = B_in;

l = sqrt(R * R + G * G + B * B);

R_out = R / l;
G_out = G / l;
B_out = B / l;

Something as simple as this. This can be done in python for Gimp as plugin F.e.

My current blog on programming, linux and stuff - http://gameprogrammerdiary.blogspot.com

Photoshop seems to use an alpha of 1.0 (255) upon loading (verified this in Python):

Clipboard01.thumb.png.4f0b36b222e04fe54a3d2c7a5ffad54a.png

So Photoshop is more straightforward for tga->png for my purposes. Though, I switched to PIL instead of OpenCV in Python to handle .tga's as well (but overall Python's image APIs are a bit of a mess: OpenCV, PIL/Pillow, Numpy/Scipy, imageio. etc.).

🧙

I see, so Photoshop does just replace alpha layer by 255 - are your normal maps normalized right after you replace your alpha by 255, or do they require normalization?

My current blog on programming, linux and stuff - http://gameprogrammerdiary.blogspot.com

This topic is closed to new replies.

Advertisement