Some of you may have been following the development of my little 3d texturing program, which I began in June last year and have been working on in my spare time. 3 months ago I had a diffuse painting only version, but decided to try adding support for PBR (physically based rendering) authoring with normal mapping, specular and metal channels. This would be quite a learning experience, having never worked with PBR!
Here is a video showing the new rendering:
You can download it here:
https://github.com/lawnjelly/3dpaint/
Conversion
It turned out to be quite a bit of work, I had to rip out the guts and completely change how the program worked. The old version worked with old school OpenGL 1.0 (run anywhere TM), however it was clear I'd need to write shaders for PBR, so first I had to convert the setup code to using GLEW so I could get OpenGL 3.0 running.
Then I had to learn how PBR shaders are meant to work. I still have no idea. :lol: I cobbled together a topic on the gamedev forum and got some input, looked through the unreal shaders for inspiration, and finally came up with some kind of mish mash, that looks 'alright for now' to my eye. The many purists would no doubt tell me off, as mine is not so much as 'physically based' as 'physically incorrect'. I should really call it 'physically incorrect shading system' or somesuch.
Channel Authoring
Having never used any of the high end texturing programs like Mari and Substance Painter (I've only seen videos), I had to come up with some kind of sensible way of authoring the height (bump), specular and metal channels. Clearly it would be nice to be able to draw them, but also for speed to be able to derive them somehow from the colours of the brushes (because reference photos don't come with these extra channels).
My current compromise allows two ways of authoring the extra channels:
- Deriving them procedurally from the layer RGB (diffuse / albedo)
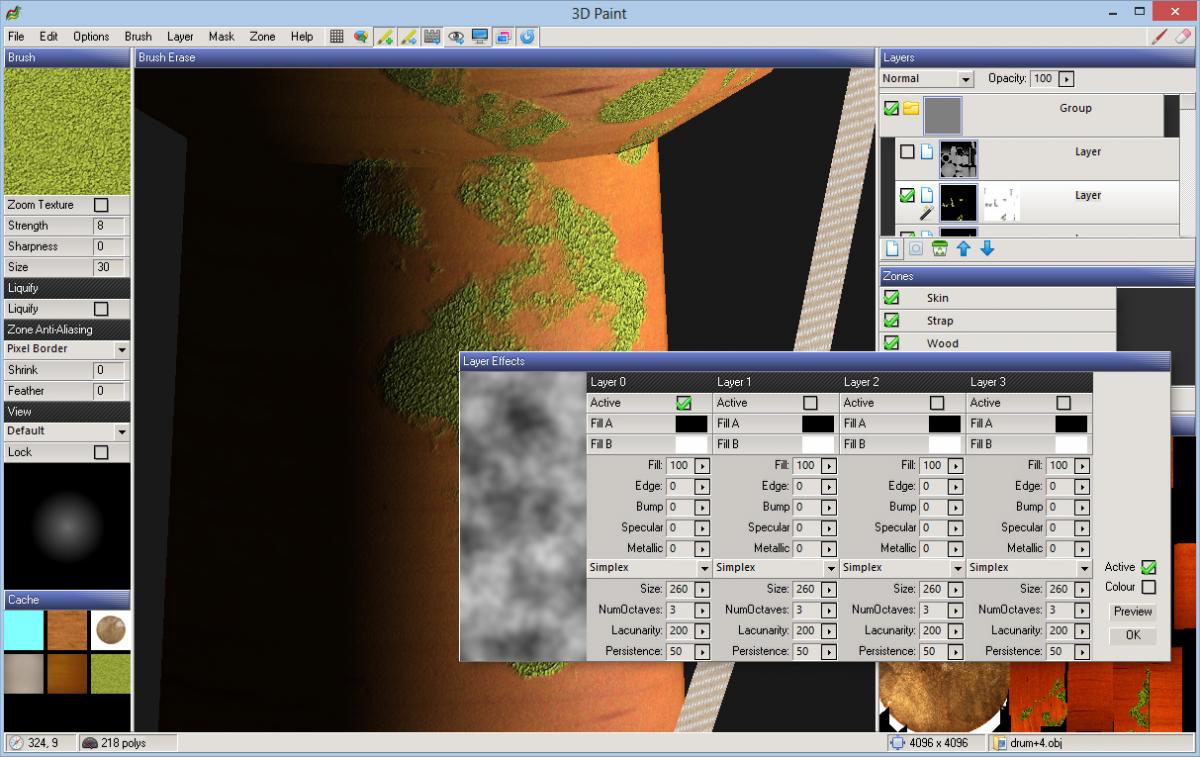
- As part of the procedural noise effects available to each layer
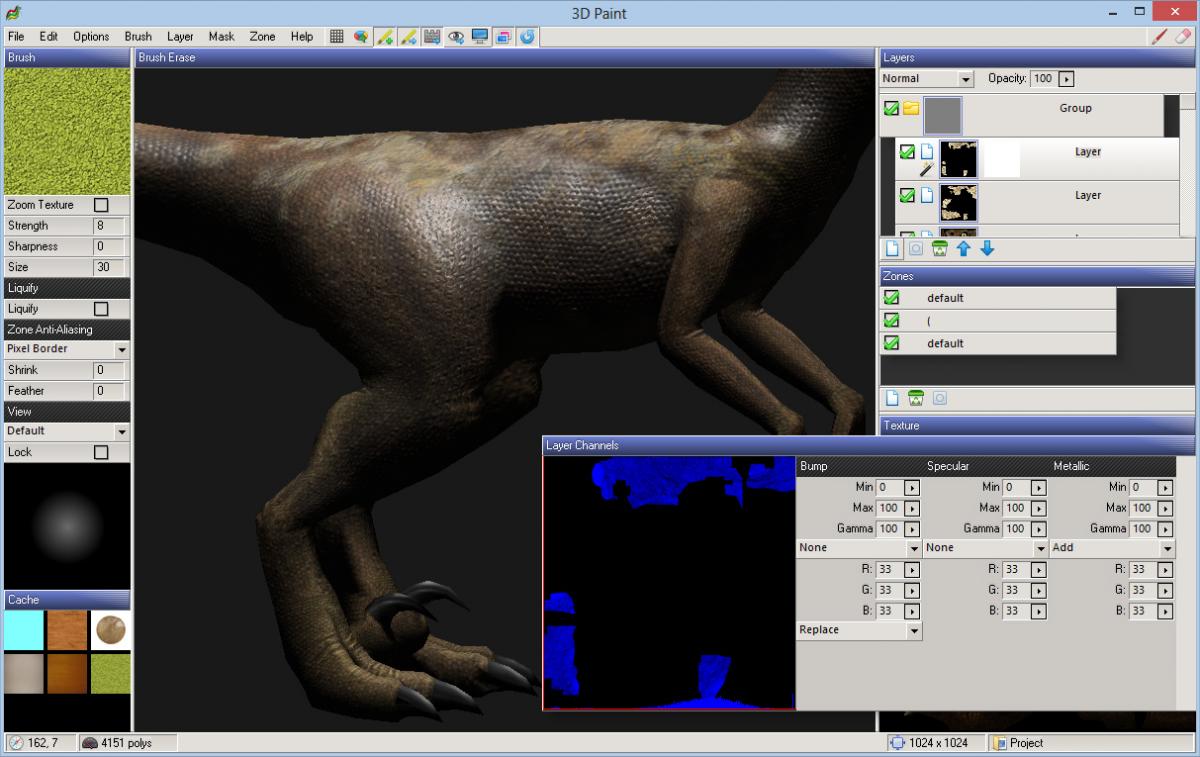
The bump channel is summed into the final composite and converted to a normal map as you edit. In addition, it was clear that most people using normal maps would create their own through xnormal or similar, so I allow you to import a normal map which is blended with the internally calculated heightfield.
Memory Use
The next big change was, with the extra channels, memory use was becoming a concern, particularly at higher texture resolutions. A 4096x4096 layer is 16 million pixels, each of which may have to store RGBA, 3 masks, bump, spec and metal. With a few layers, thats a lot of memory.
My solution was similar to what I used writing a photoshop app. Instead of storing each layer uncompressed, only the current selected layer is stored uncompressed. All the other layers are stored in a compressed format, which are decompressed and compressed on the fly as you select layers. It also means the layers must render from the compressed format into the composite (final) image. With some cunning programming, this is done fast, and also redraw only occurs in areas that contain image data, speeding up the overall speed. It is a win-win situation.
Other
The zoning system has been improved to give smoother boundaries between zones, and there have been vast amount of improvements in many areas.
Of course as this is a first alpha release I am expecting there to be problems running on some machines (particularly because of the change to OpenGL 3.0 and shaders, which can be finicky about compiling, despite being fine in the OpenGL reference compiler). I only have 1 other machine at home to test it on, and already found shaders that linked on my work machine would not link on the test machine, and had to fix this - I anticipate there may be other problems to iron out. Normally I do a flurry of changes to fix compatibility issues in the first couple of weeks.
But at this stage it is 'good enough', so I will release it. There are still obvious things to me which I need to improve - the bleedout techniques at the edge of UV islands are next. And I want to do some tutorial videos.




Happy that you were able to learn a lot and make a better piece of software.