First, there is vertex painting. This is the easiest way to get color onto your model. You go into vertex paint mode where you change from object to edit mode. This assigns colors to the vertices. This is old school model painting. Rarely does anyone do this anymore, but for simple crude models it's a quick way to "paint" them. This is mostly for making the model one solid color, not painting detail because you can basically only assign one color per triangle (actually one color per vertex).
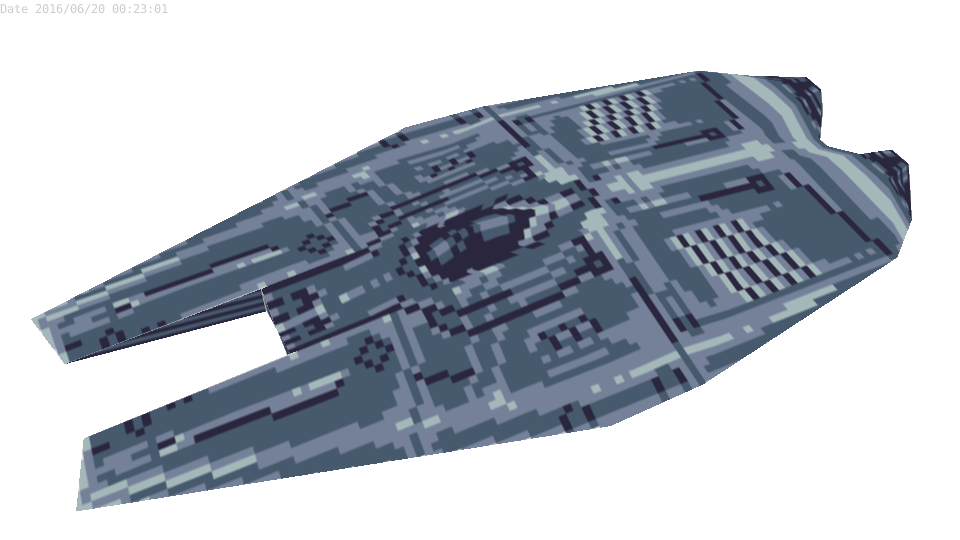
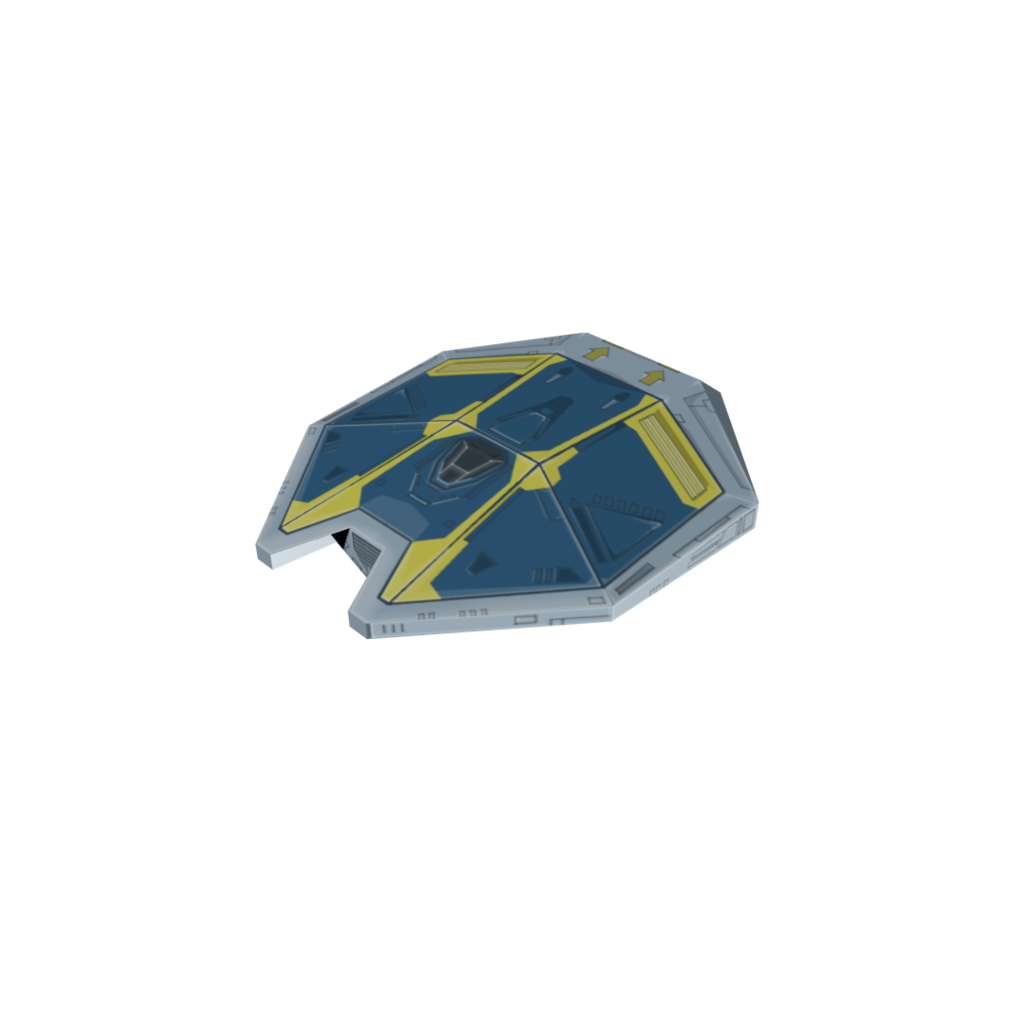
UV wrapping is what you generally want. It won't make a cross shape unless it's a cube you're unwrapping. The first step is to define a seem where the model will be split so that the triangles can be laid out flat. I think that's one of the hardest parts of UV unwrapping. You do have to assign it a material. Most of the time, the materials and shaders in Blender are useless in terms of game models. But in this case you use one because the UV map has to have a material. There are YouTube videos on this kind of stuff. If you can do a cube, you're off to a good start. You should be able to export the UV map to a JPeg or something.
You take the UV map image and import it into Photoshop or some paint program. This is all your triangles of your model laid out flat. Texturing is difficult. It's an art form in and of itself, don't let anyone kid you. But there are some tricks and what not. Here's where you do the actual painting of the model.
The first thing to do is to make a layer where you save the triangles as lines. You want the lines of the triangles to be an overlay you can turn on and off and not mess up so that you can see where the triangles are actually at. This is super important. But you also want to be able to turn it off when you're done, unless you want to see the edges of the triangles on the final model (on rare occasion you might actually want that).
Another trick is to mask out the areas that are not triangle faces. Again, you can use the triangle image to do that. Then you can fill the area not used with black. And the mask will keep you from painting into the black area.
At that point it's largely just an art. Cheat when you can. You can often copy and paste textures. If you're modeling pants for a character, you can probably copy and paste an image of denim or something rather than trying to actually paint something that looks like denim. But texturing is tough.
Don't get that confused with specular and normal mapping. Both will use the same UV map, but the way they are produced is substantially different, especially the normal map. Although, they provide a lot of the detail you see in today's models. Normal mapping is mostly about taking your low poly model and making a super high poly model version of it which you then sculpt like clay. Then you bake a normal map using the UV map you made of the low poly model for the texture. Then you go back to the low poly model and apply the normal map to make it look as if it is the high poly version. But you still apply your original texture.
Once you have your texture image, you can import it back into Blender for viewing, but you don't have to. The main thing is that the JPeg (or whatever image format it is) ships with the model and that the UV coordinates are defined in the model file (by UV unwrapping). Of course, the UV map you created must match the texture you created. If you unwrap it again and change the mapping, your texture can be thrown in the trash because it's useless.
But that's basically the process. And as far as I know, it doesn't get any easier than that. You just have to learn to paint on the flattened UV map and it's largely painting skill at that point along with learning to distort it according to the stretch of the triangles.
If the posts above don't help, you can go on YouTube and search for "blender uv unwrapping tutorial". Start with a cube and then work on more complex shapes. Learn the basics with a cube, and then it just gets more difficult from there as your shapes become more complicated.


