Normal Map Issues of DEATH
Sorry about the dramatic title but the normal issues I am having are close to that level at this stage.
I should say first off, that I used zbrush originally for normal mapping but the seams were awful and some parts of the normal map would end up flipped so then I used 3ds max's normal mapping utility which worked better in some ways worse in the head as it was projecting the collar on the neck so I used the normal map of the had from the zbrush normal map.
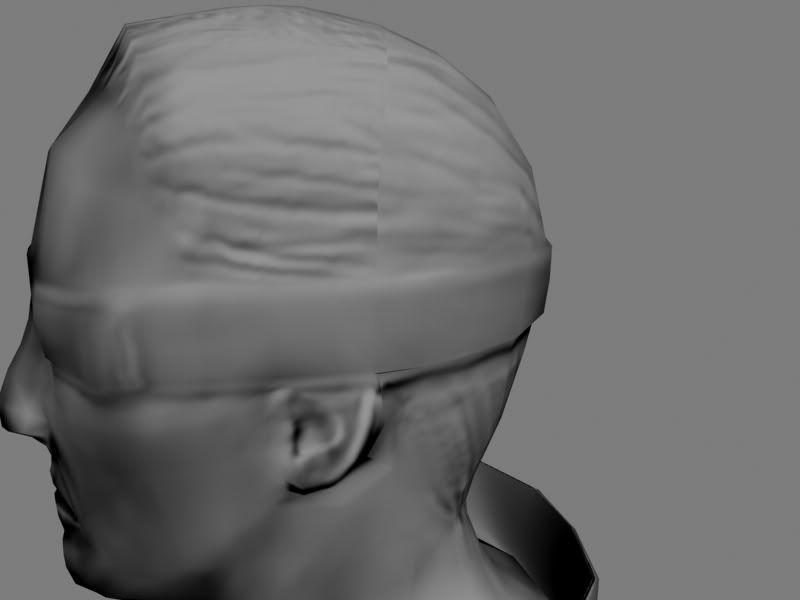
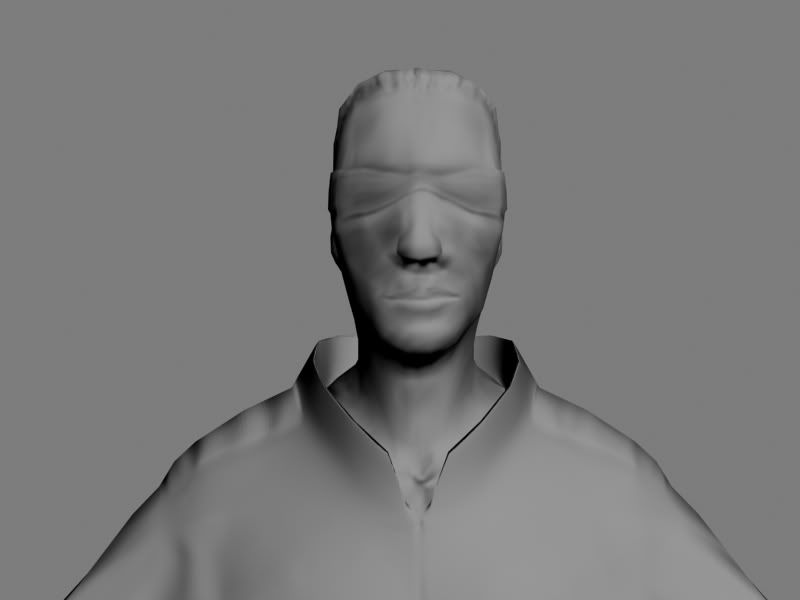
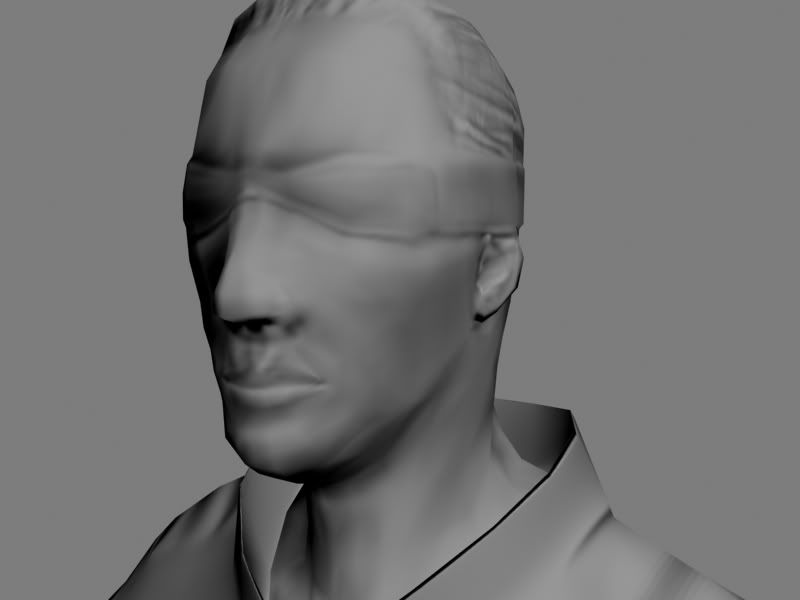
But as you can see there are still issues with the face:
Also the seam is still monstrous:
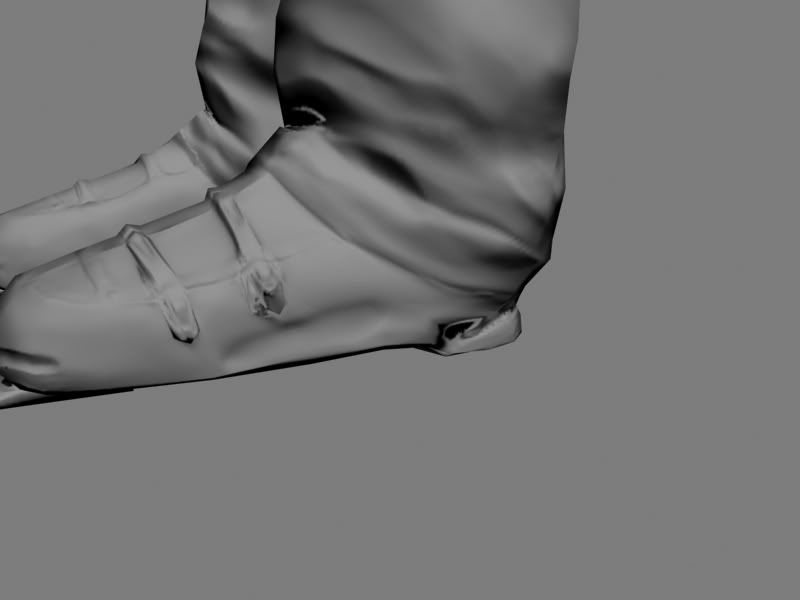
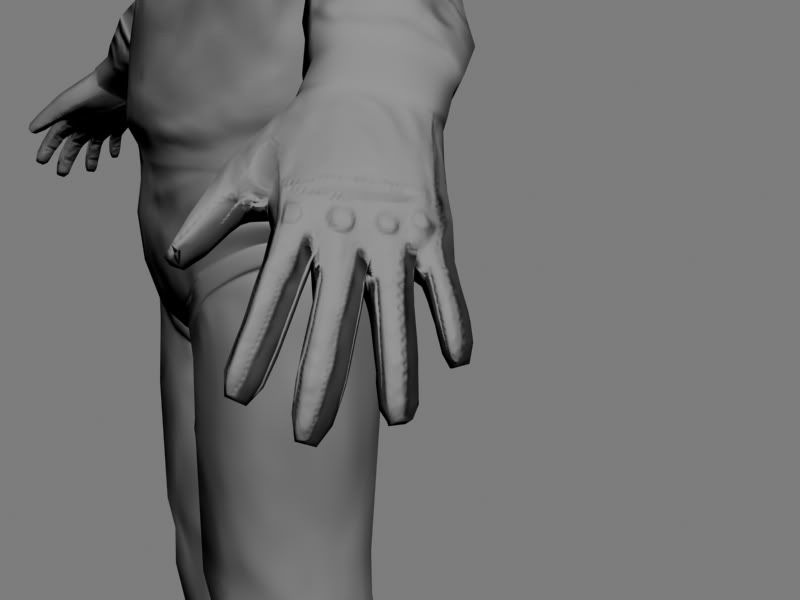
And lastly these two issues are in other parts of the body:
Anybody know how to fix problems like these? Or where to look at least, any and all help would be appreciated lads.
Jonathan
Try flipping the Y, ie, invert the green channel of your map in photoshop.
-------------www.robg3d.com
I don't think the green channel is the problem here, the lighting for the y-axis looks normal and consistent. However, there are some odd errors, these look like they may have been caused by a bad projection. Meaning your low poly mesh was not 100% properly setup for the high polys projection onto the low, resulting in odd normals recorded in the map.
Is there anyway you can upload the normal map? We can take a better look at the problems, and i could perhaps try to fix it for you.
-------------------------Only a fool claims himself an expert
you have to think about what your target program is, and how it works, mostly in terms of what tangent math is used and how uvs are calculated.
The problem is usually this, some programs take any uv seam and make a cut in the mesh, duplicating the vertices, and also the tangents, so you have a seam. zbrush will compensate for that, but you may have to set it to do so, or it may be that the calculations don't match even when it does compensate.
(some other areas I see are clearly faces that overlap in the highpoly version, to fix that, I sometimes make multiple baked normal maps and combine them, but that takes a lot of time)
Thanks for the feedback lads.
@Jarrod1937 - Thanks for the offer but the only way to learn is to do it myself, so any advice, tips, pointers to a tutorial or learning material would be helpful. Thanks
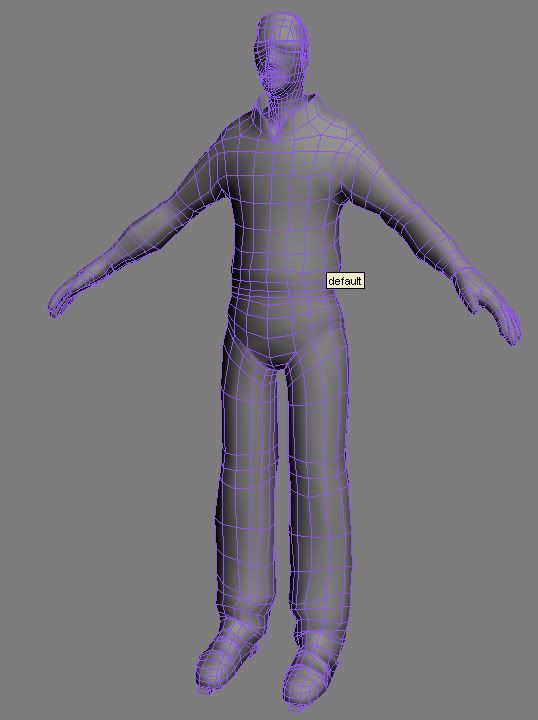
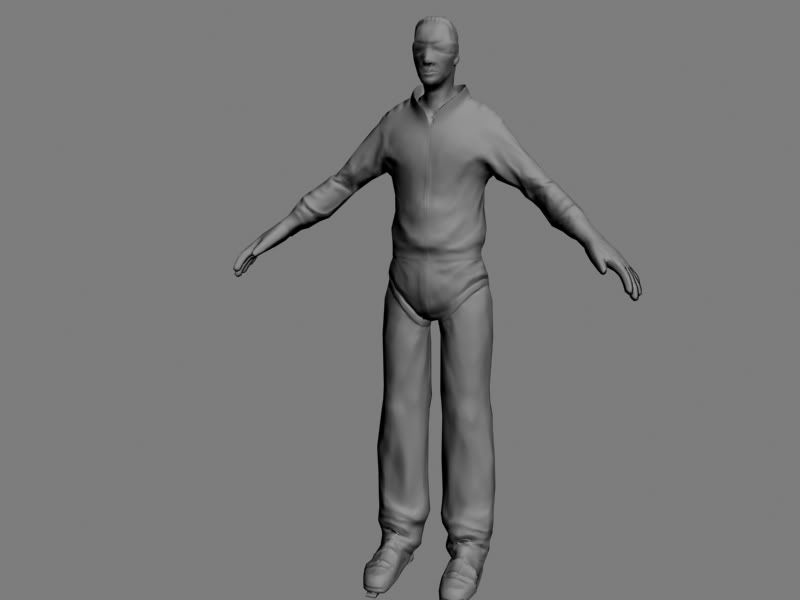
Here is more details:
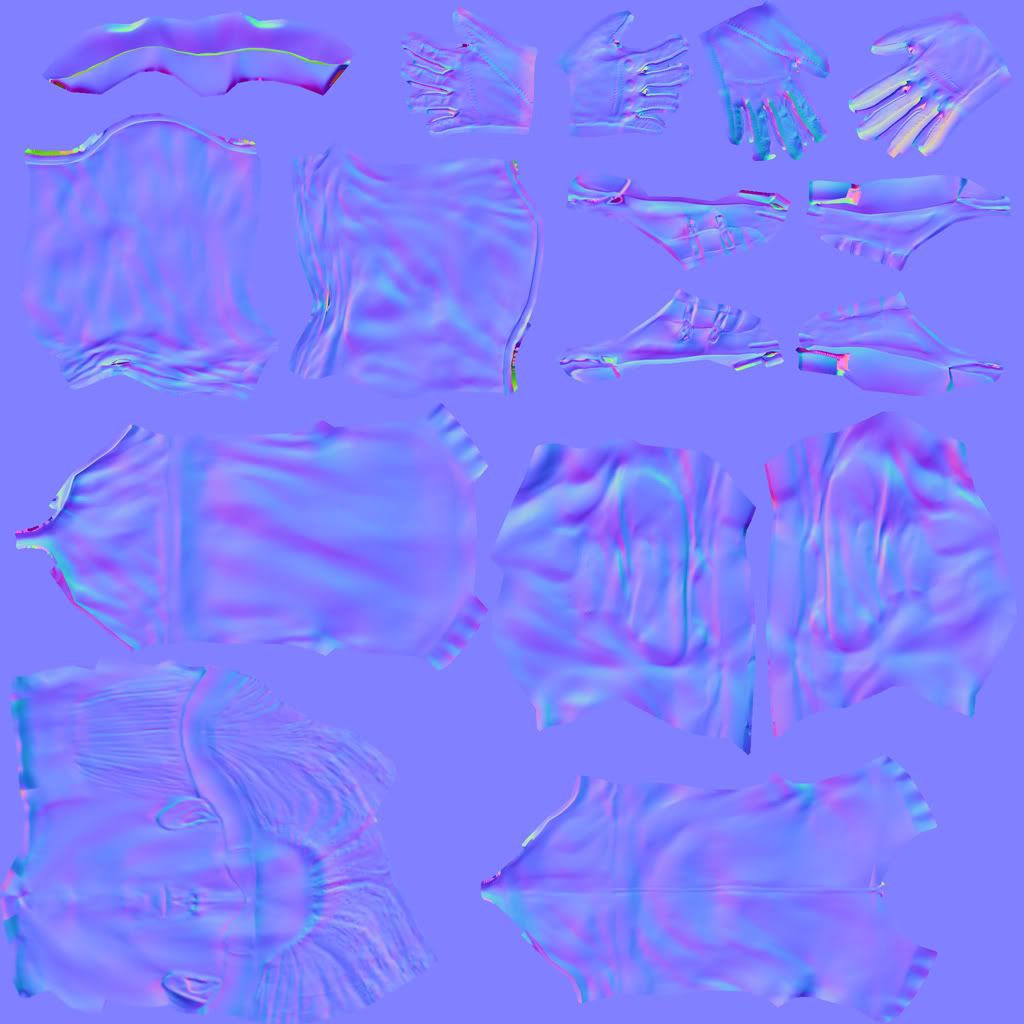
Normal Map
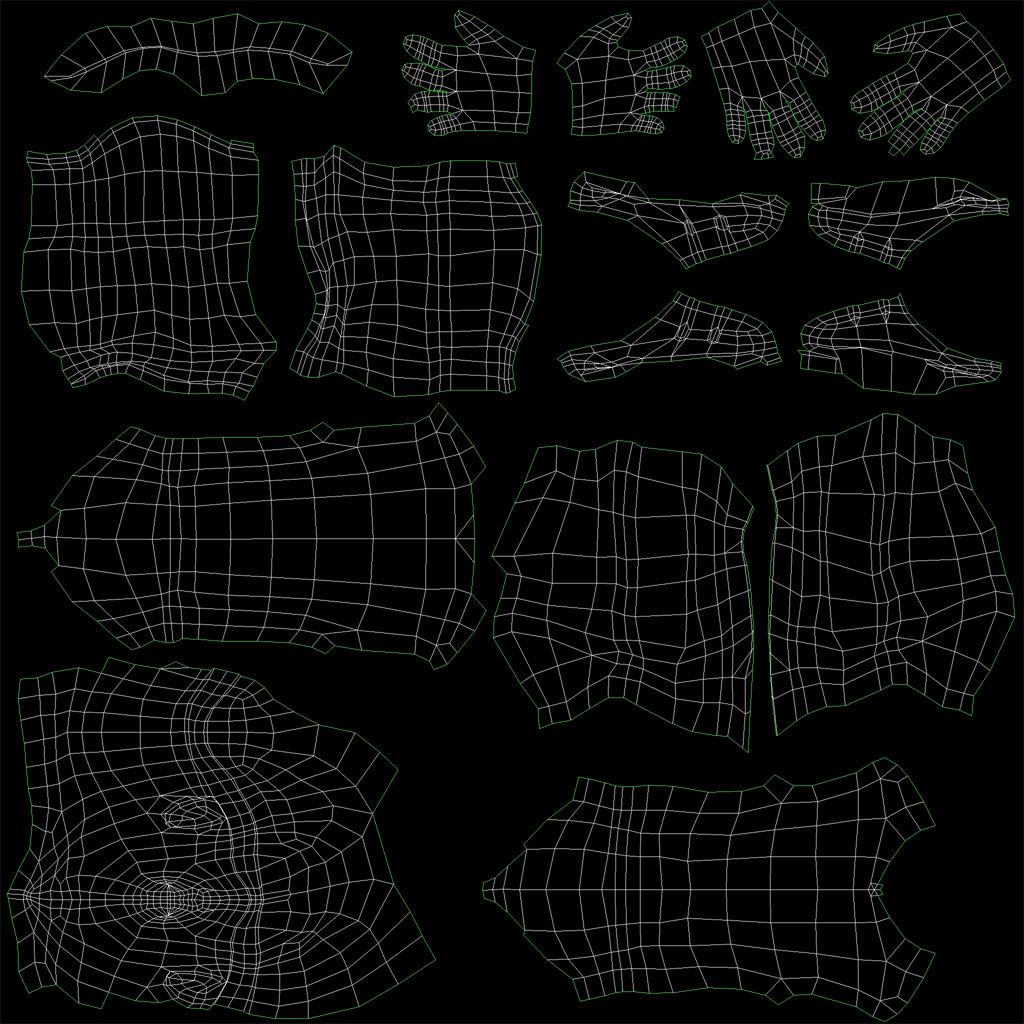
UVMap
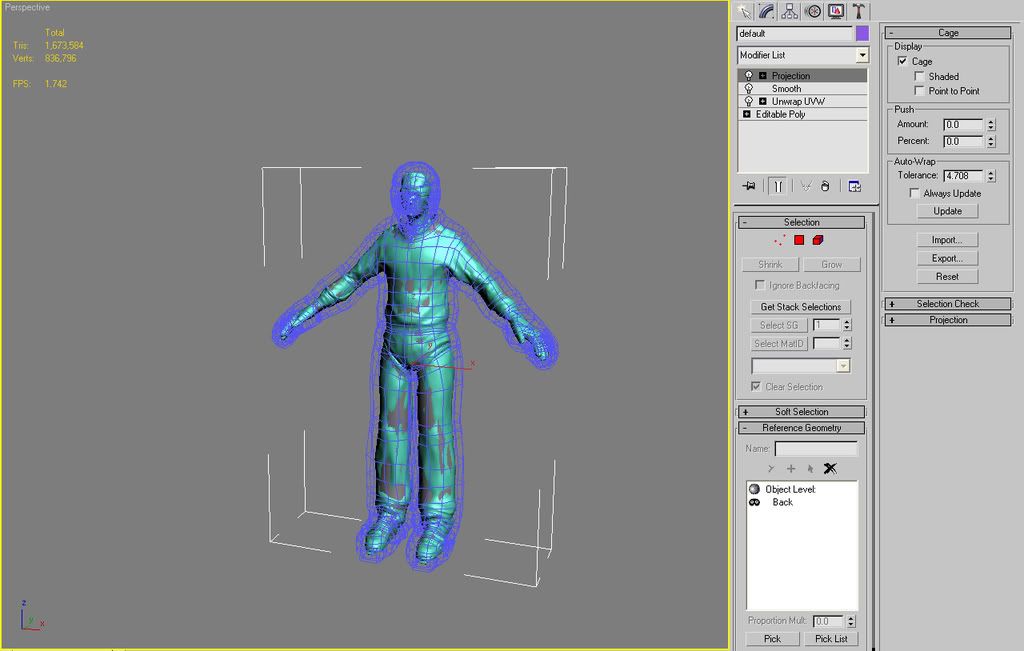
Low Poly and High Poly with Cage
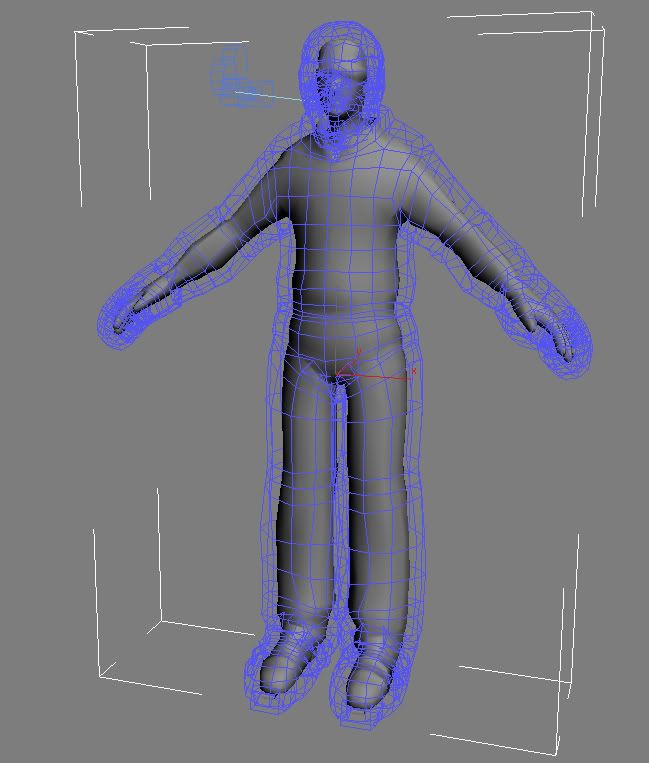
Low Poly with Cage
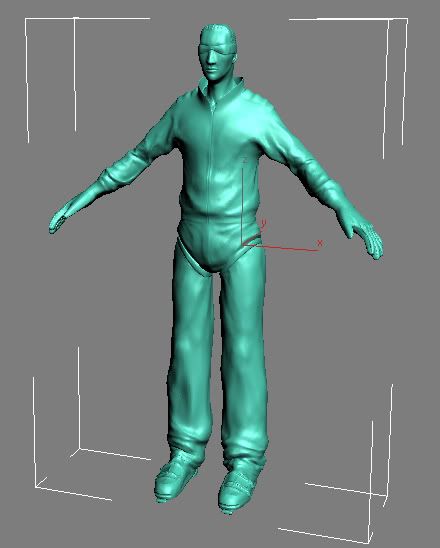
Hi Poly
Low Poly
Normal Mapped
Probably a gizillion problems with the cage and the normal map as I am still a bit crap at this sort of thing
When doing your cage, turn "shaded" on, and set your tolerance to 0, then hit reset. Then push your cage out just a little, to where you can see the low poly is not showing through the cage. However, you don't want to over extrude your cage (as i see in your images) as this too can produce errors in the normal map.
Hope that helps.
Edited: Post edited to remove incorrect info.
[Edited by - Jarrod1937 on March 28, 2008 7:21:09 AM]
Hope that helps.
Edited: Post edited to remove incorrect info.
[Edited by - Jarrod1937 on March 28, 2008 7:21:09 AM]
-------------------------Only a fool claims himself an expert
Open your texture in photoshop. Press Ctrl + 2, Ctrl + I, Ctrl+S, Ctrl+W.
-------------www.robg3d.com
Quote: Original post by Professor420
Open your texture in photoshop. Press Ctrl + 2, Ctrl + I, Ctrl+S, Ctrl+W.
Once again, i really don't think it is the green channel. Looking at the ruffles in the cloths, if the lighting is above and not below the mesh, the lighting on the Y-axis looks 100% correct. But i guess we'll see after he does the changes.
-------------------------Only a fool claims himself an expert
Sub, i also forgot to mention, that with generating your normal map, you need to make sure you have the mesh as one smoothing group. Breaks and odd errors will occur by ray misses when there is no smoothing group at sharp edges or where there is breaks between multiple smoothing groups. Looking at your model it looks like you're fine, but i can't be too sure since you didn't provide very clear shots of just the low poly with no cage. But, it is something to keep in mind.
-------------------------Only a fool claims himself an expert
I think you're right. Anyway:
That is incorrect. While sometimes you choose to cast 'out' or cast 'in' (it just flips the ray the low-poly surface is casting to find the high-poly point), you generally cast both ways, which is what the OP is doing.
Make sure your "Bump" value on your standard material is set to 100, not the default of 30.
The errors on the feet/legs and fingers are from your casting/cage. You are hitting different geo than you intend. For the legs, fix the cage, for the hands, I tend to just paint them out unless you need to be meticulous. To get a good cage, go to "Reset" on the cage modifier, then "Push" the minimum amount you can to get the cage above your mesh. Areas of the cage that interpenetrate with mesh you want to fix manually, with some soft selection or whatever.
As far as the cage goes in general, think of it this way: each 'point' on your low-poly surface (actually pixel but let's just say point) casts out a ray, by default along its normal (or casts in a ray along its inverted normal). When you have a cage, you adjust the way the ray goes. Instead of just going along its normal, it goes from its point on the mesh to the corresponding point on the cage, and returns whatever the normal is where it hits the hi-poly mesh. So for places like the webbing of the fingers, if we shoot along the normal we very quickly inter-penetrate other geometry on the lo and hi poly and things become a mess... we can use the cage to control exactly where and how far these rays shoot, so we don't get those nasty errors you have on your normal map.
The hair seam looks like it is a resolution issue. I can't quite tell with certainty, but it looks like at the seam you have an area of the UV map meet with another area that has about 4x the resolution... even this out, fix your UV layout, whatever, just make sure the 'checkboard' you apply to check your UV's is pretty consistent at the seam.
Quote: You also should not allow any of the high poly model showing through your low poly, this will cause the rays to miss, producing errors in your normal map.
That is incorrect. While sometimes you choose to cast 'out' or cast 'in' (it just flips the ray the low-poly surface is casting to find the high-poly point), you generally cast both ways, which is what the OP is doing.
Make sure your "Bump" value on your standard material is set to 100, not the default of 30.
The errors on the feet/legs and fingers are from your casting/cage. You are hitting different geo than you intend. For the legs, fix the cage, for the hands, I tend to just paint them out unless you need to be meticulous. To get a good cage, go to "Reset" on the cage modifier, then "Push" the minimum amount you can to get the cage above your mesh. Areas of the cage that interpenetrate with mesh you want to fix manually, with some soft selection or whatever.
As far as the cage goes in general, think of it this way: each 'point' on your low-poly surface (actually pixel but let's just say point) casts out a ray, by default along its normal (or casts in a ray along its inverted normal). When you have a cage, you adjust the way the ray goes. Instead of just going along its normal, it goes from its point on the mesh to the corresponding point on the cage, and returns whatever the normal is where it hits the hi-poly mesh. So for places like the webbing of the fingers, if we shoot along the normal we very quickly inter-penetrate other geometry on the lo and hi poly and things become a mess... we can use the cage to control exactly where and how far these rays shoot, so we don't get those nasty errors you have on your normal map.
The hair seam looks like it is a resolution issue. I can't quite tell with certainty, but it looks like at the seam you have an area of the UV map meet with another area that has about 4x the resolution... even this out, fix your UV layout, whatever, just make sure the 'checkboard' you apply to check your UV's is pretty consistent at the seam.
-------------www.robg3d.com
This topic is closed to new replies.
Advertisement
Popular Topics
Advertisement
Recommended Tutorials
Advertisement